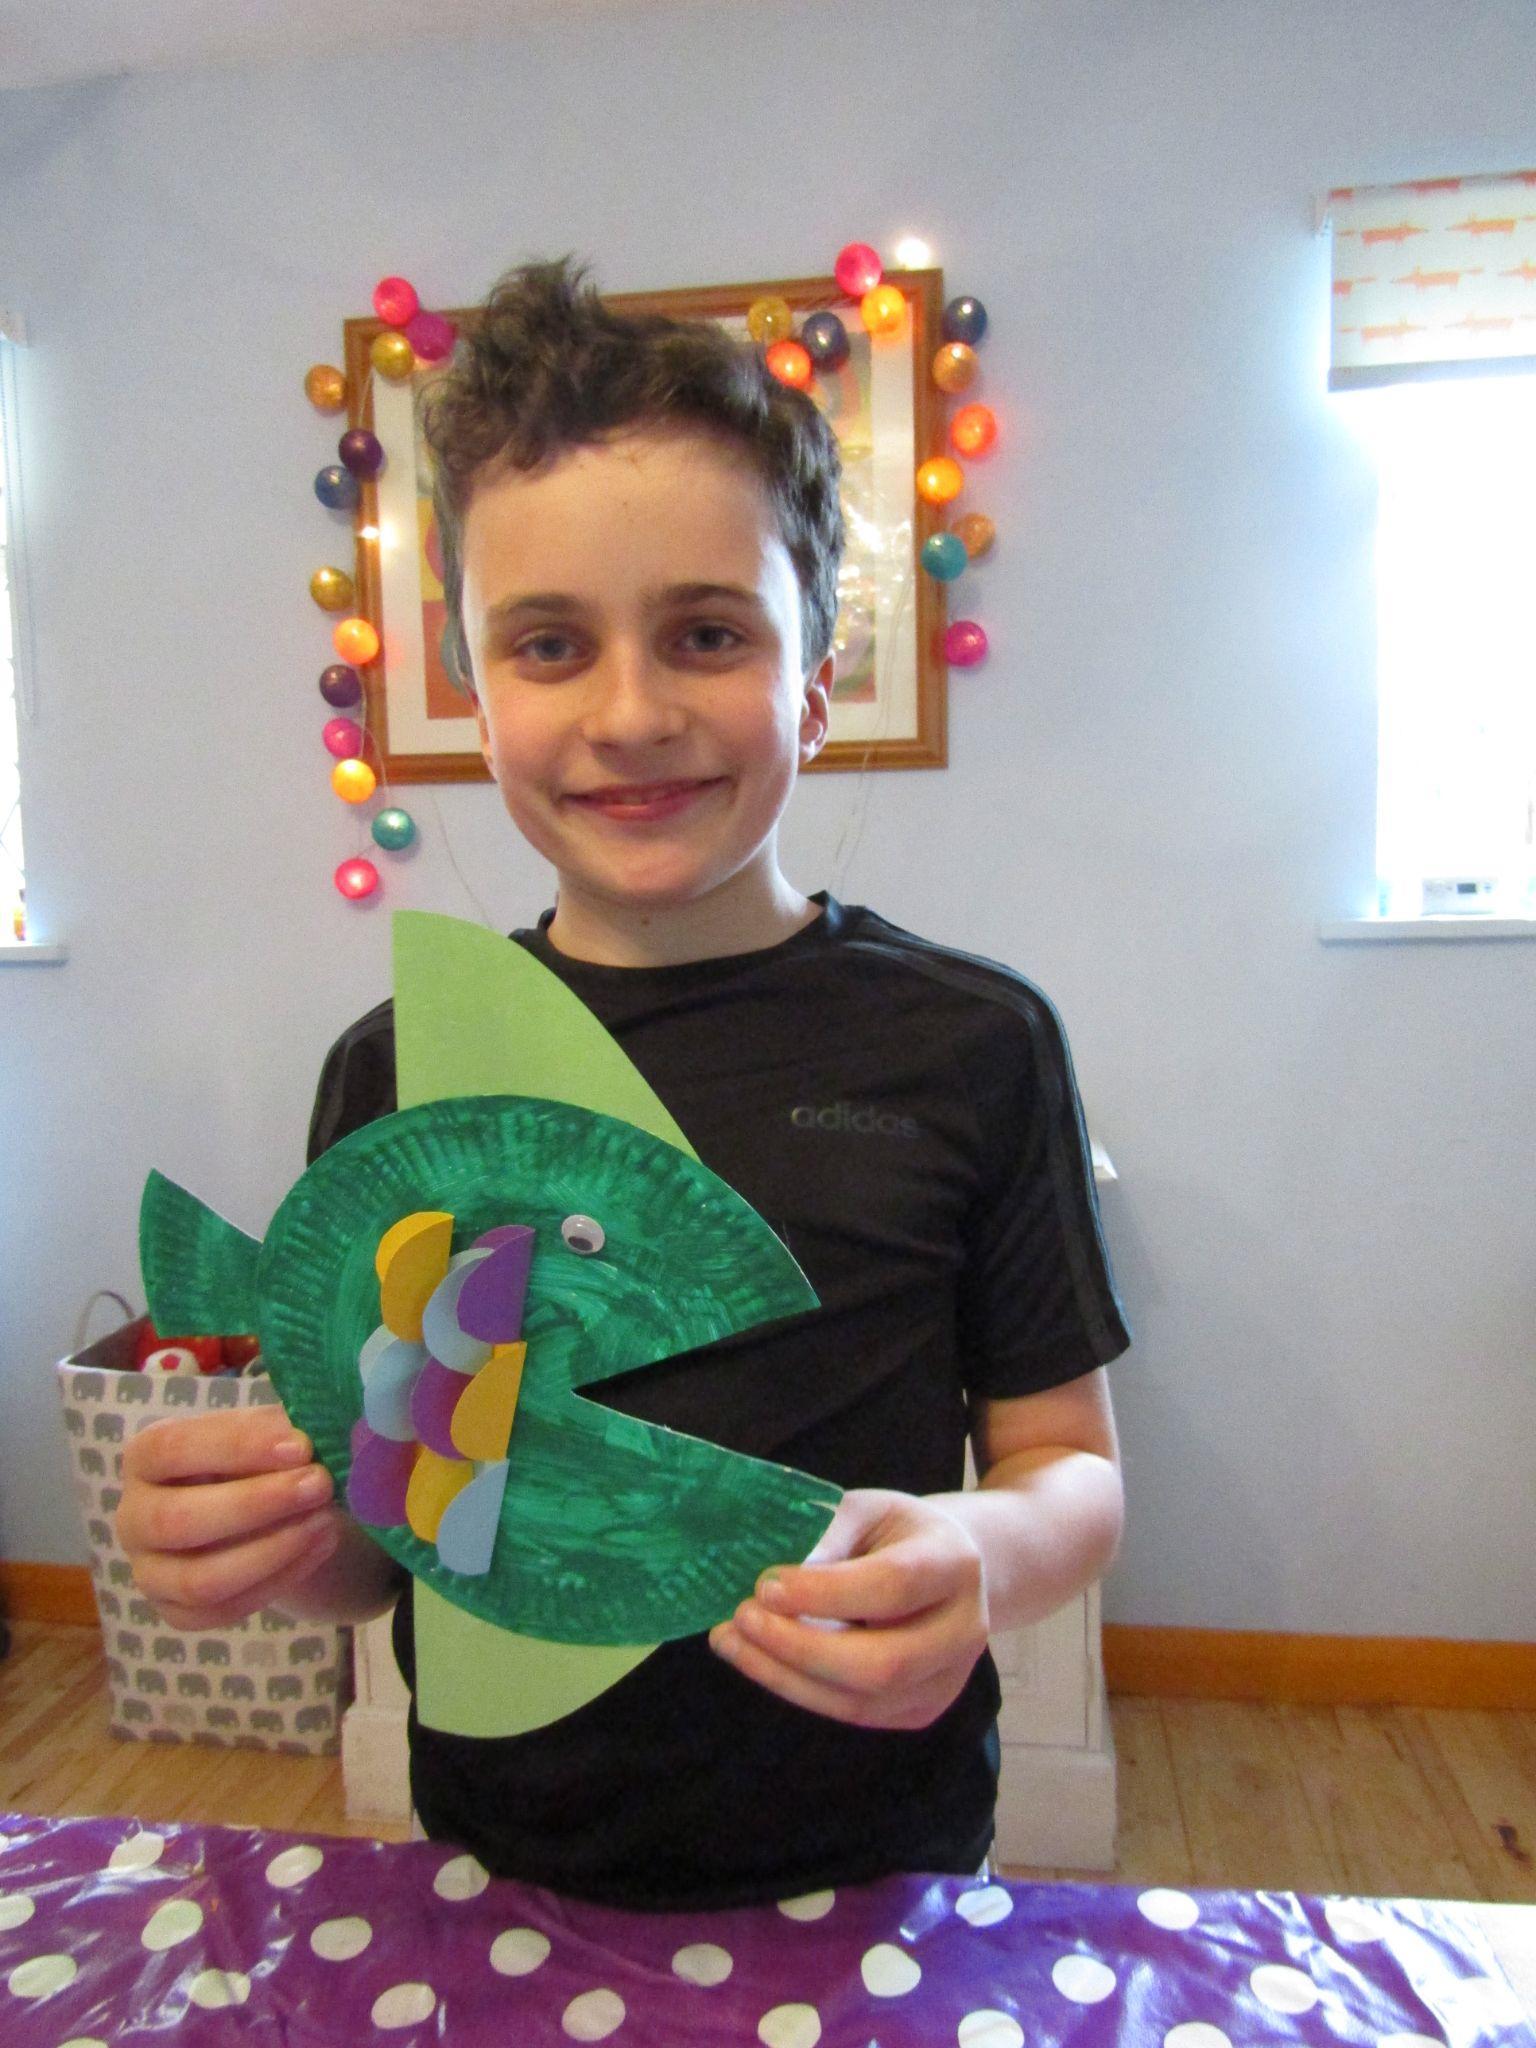
For this month’s craft project, Theo, 11, is going to show you how to make some fun paper plate fish – they’re really simple to put together and can be easily personalised, using different colours and decorating materials.
You could also adapt the instructions by cutting out much smaller circles of card and making lots of different coloured fish. You can then use sticky tape to attach them all to a long piece of string so they hang like bunting, or sticky tape them to individual, shorter pieces of string, which you could then tie to a coat hanger, like a mobile!
What you’ll need:
You should be able to find all these things in craft shops or the craft sections of high street shops and supermarkets.
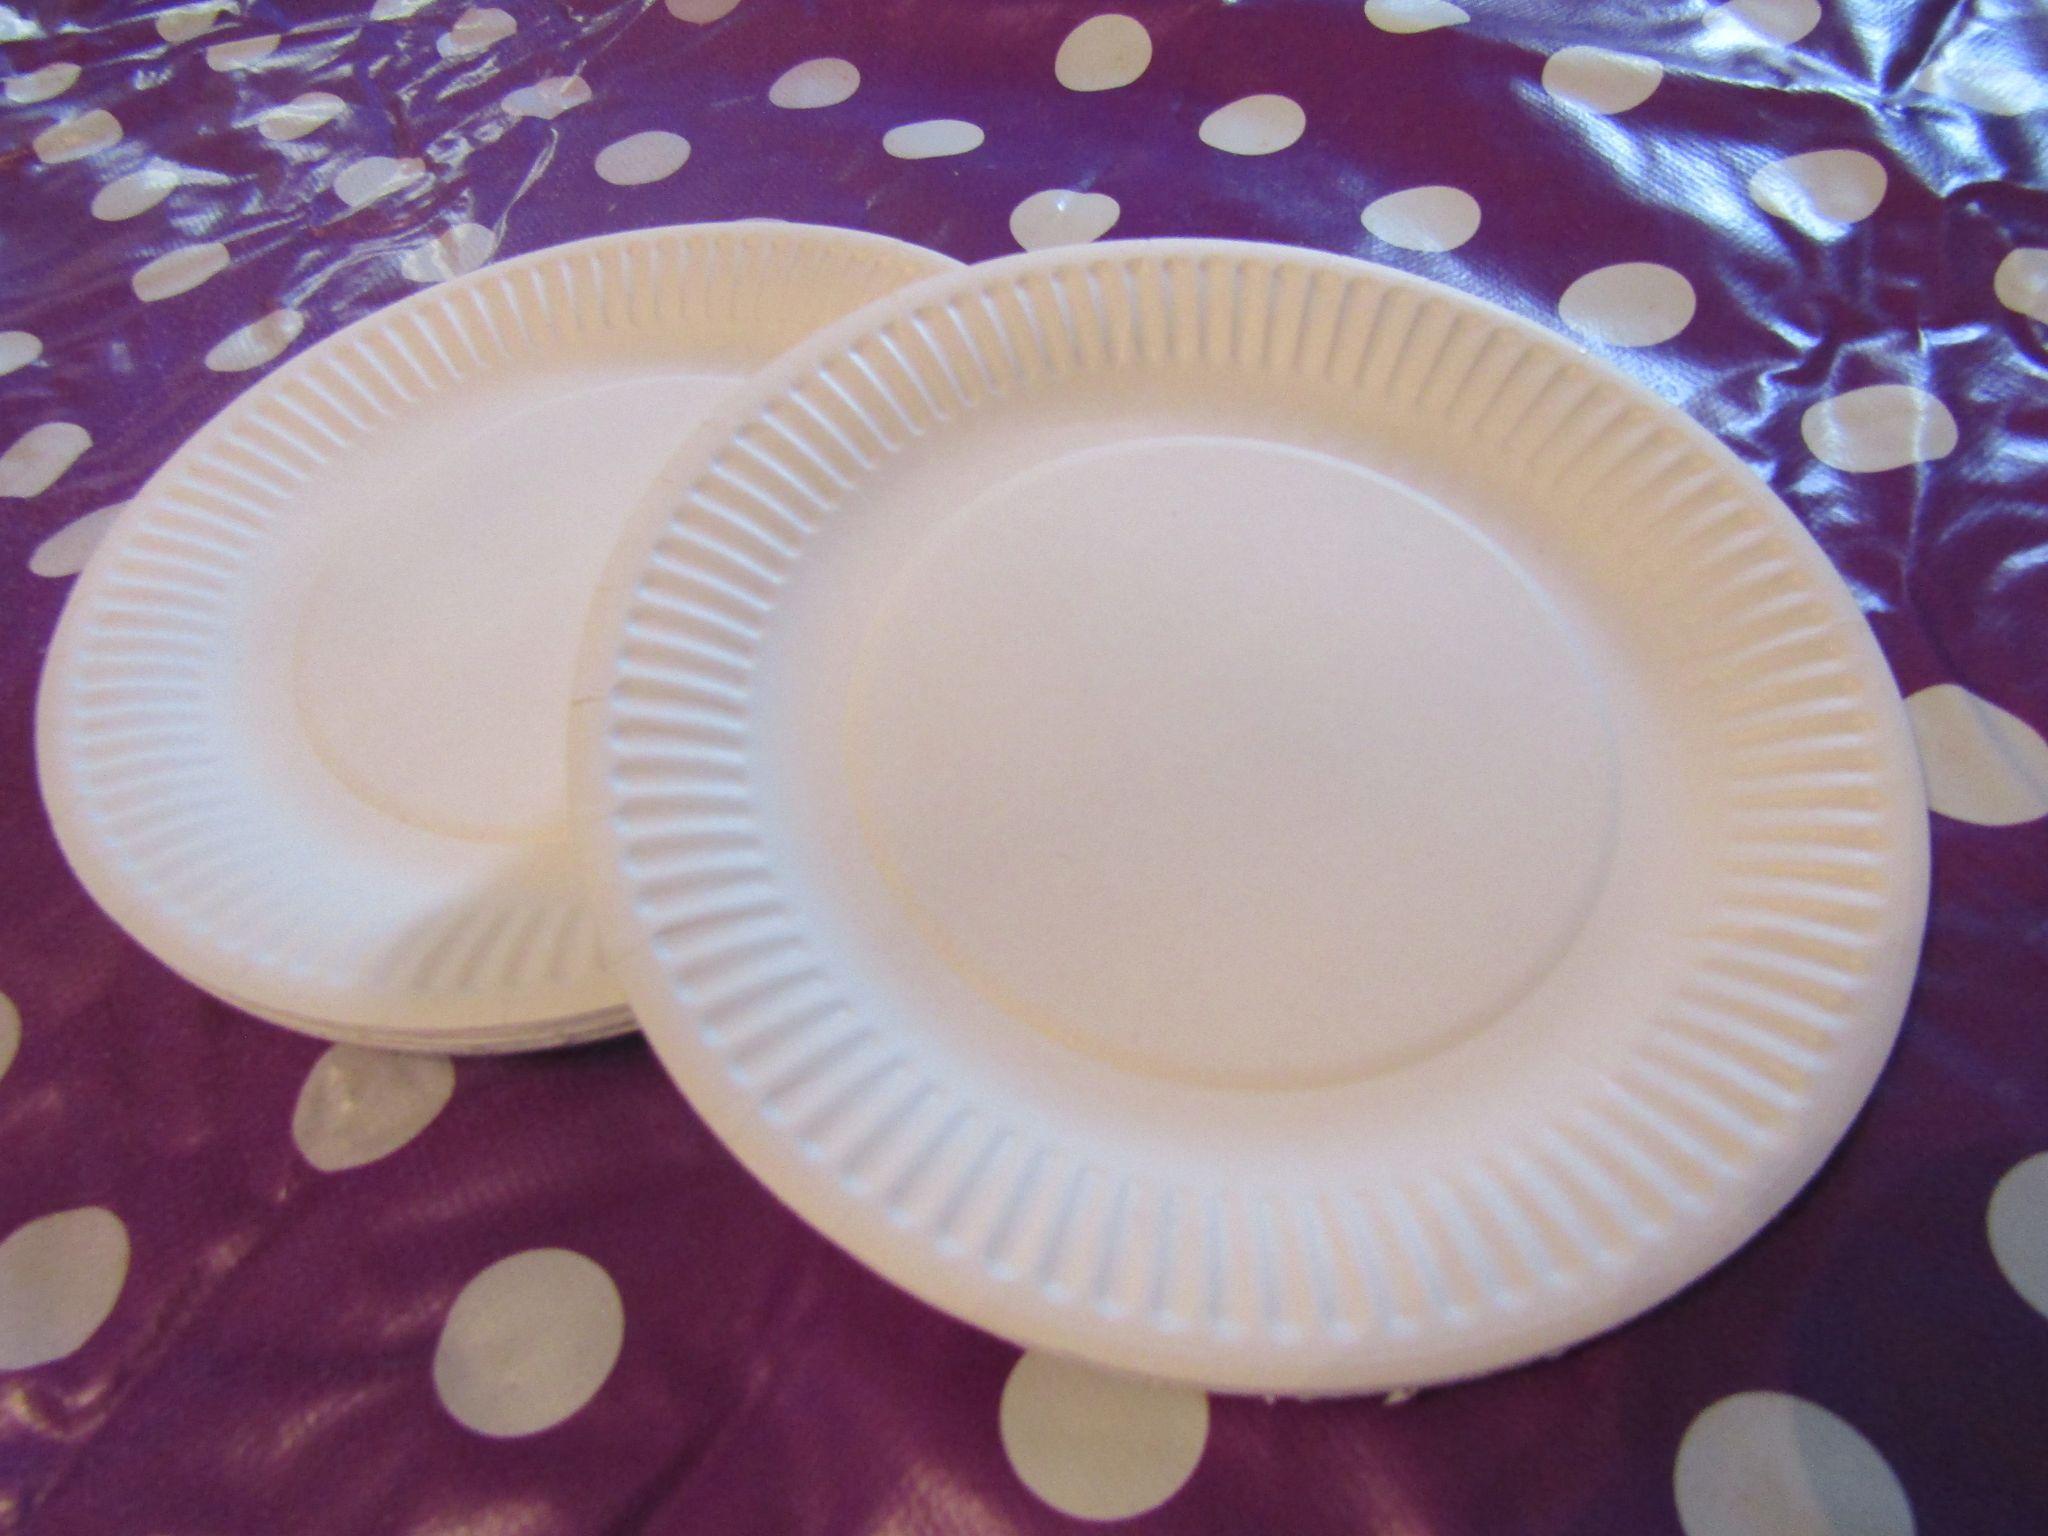
- Paper plates
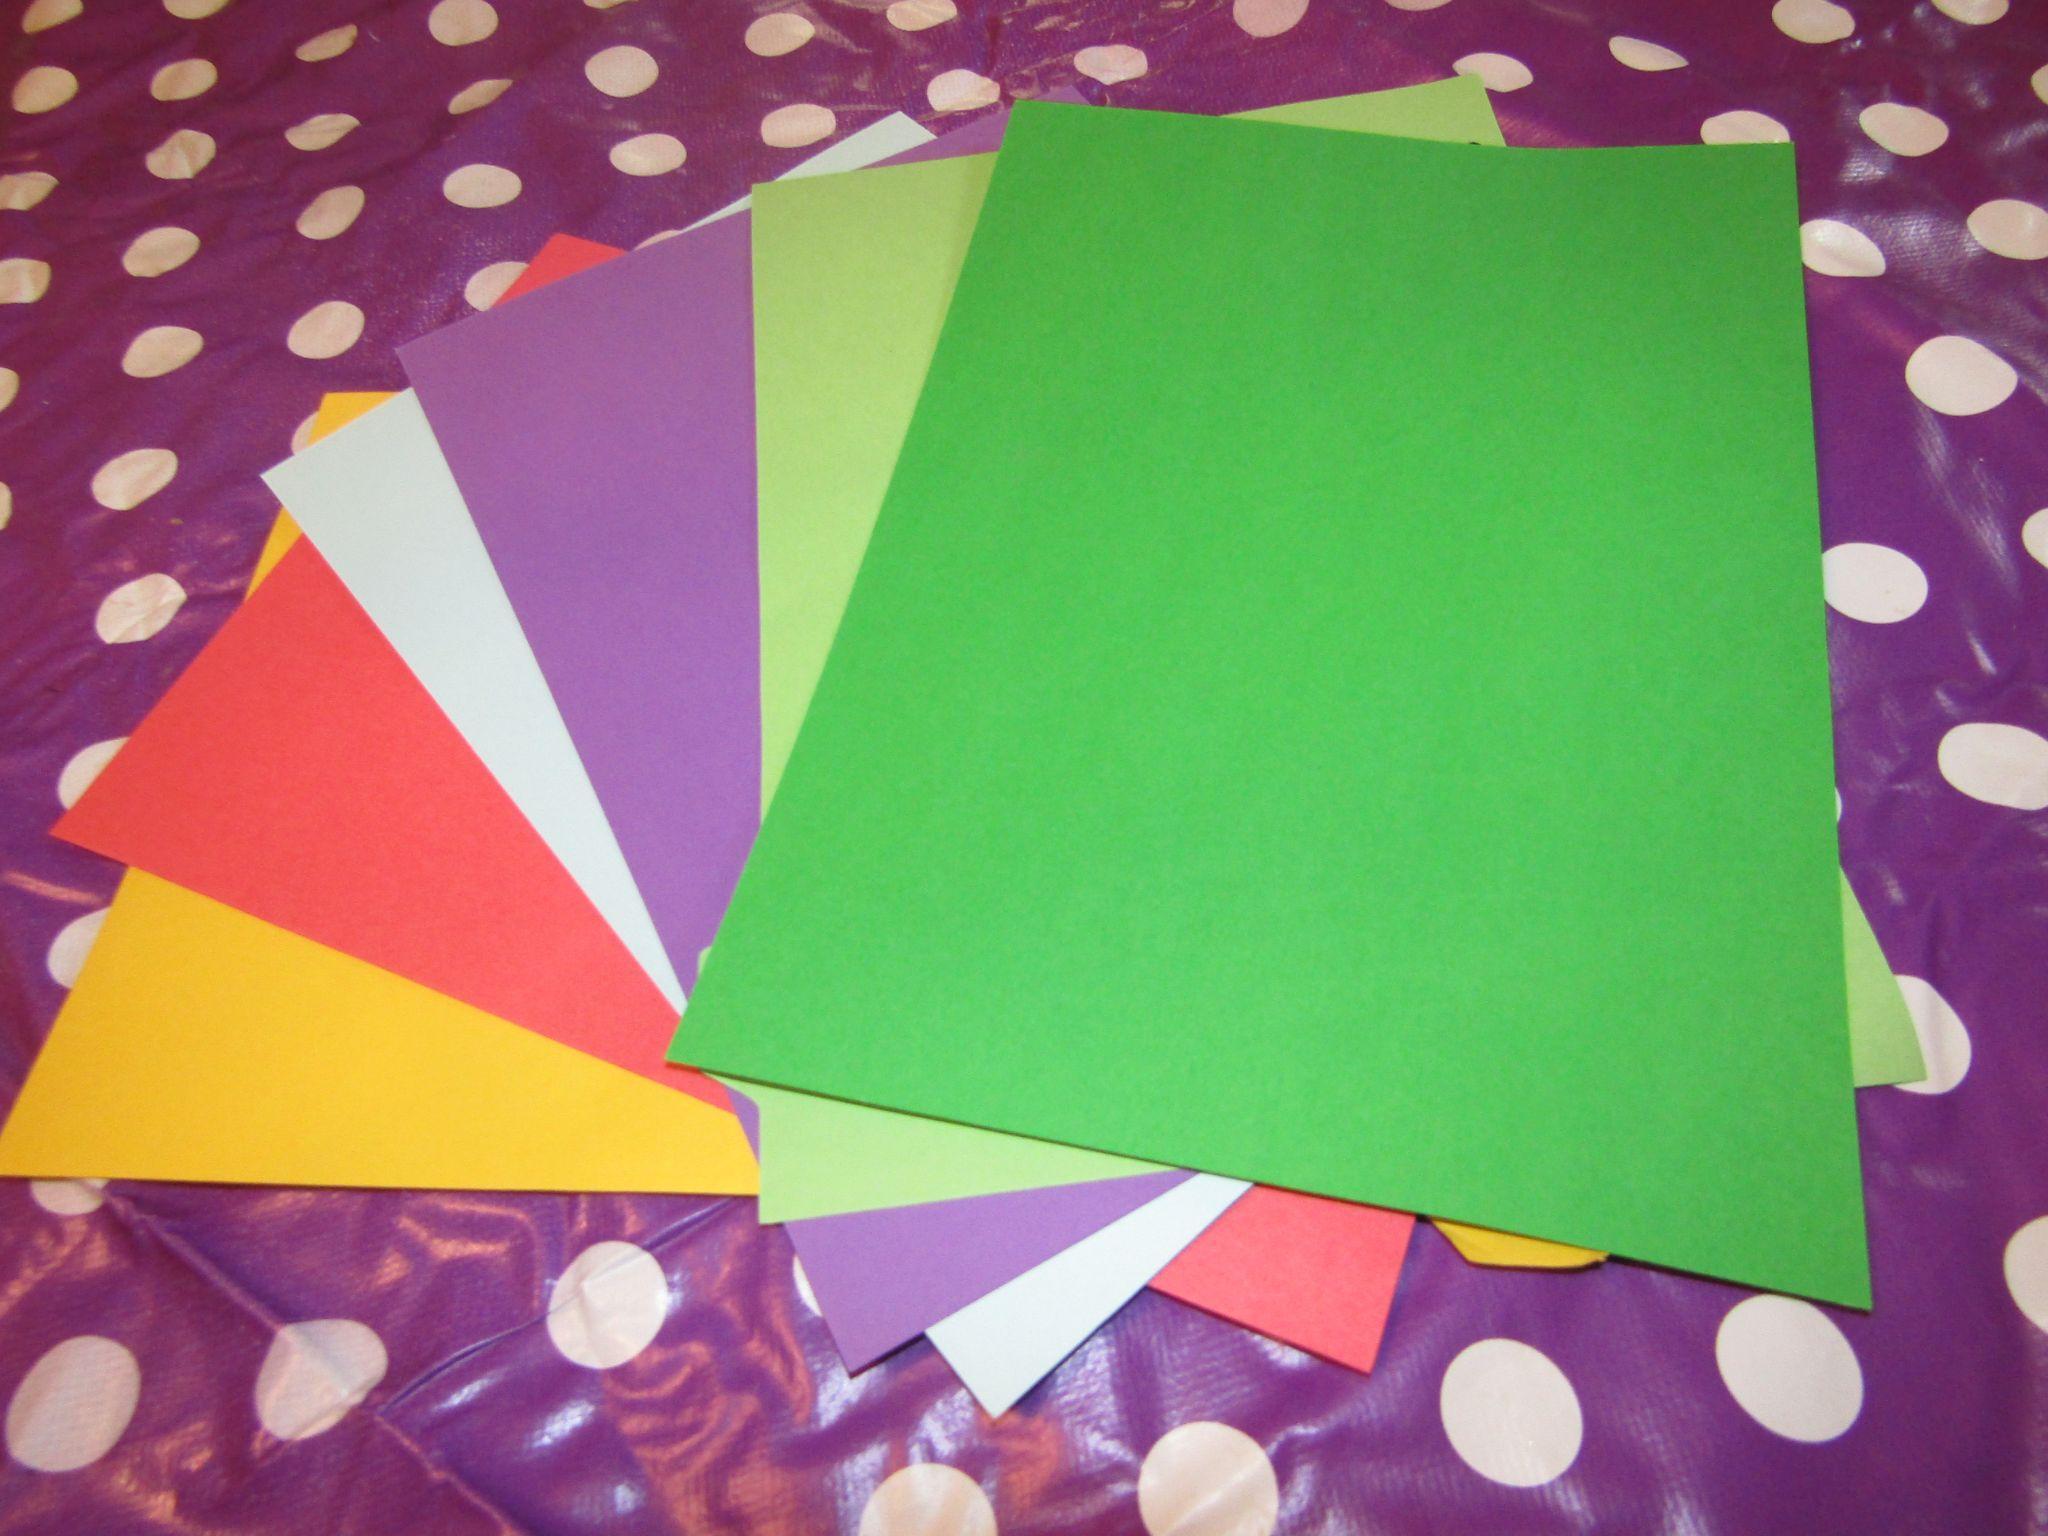
- Coloured card
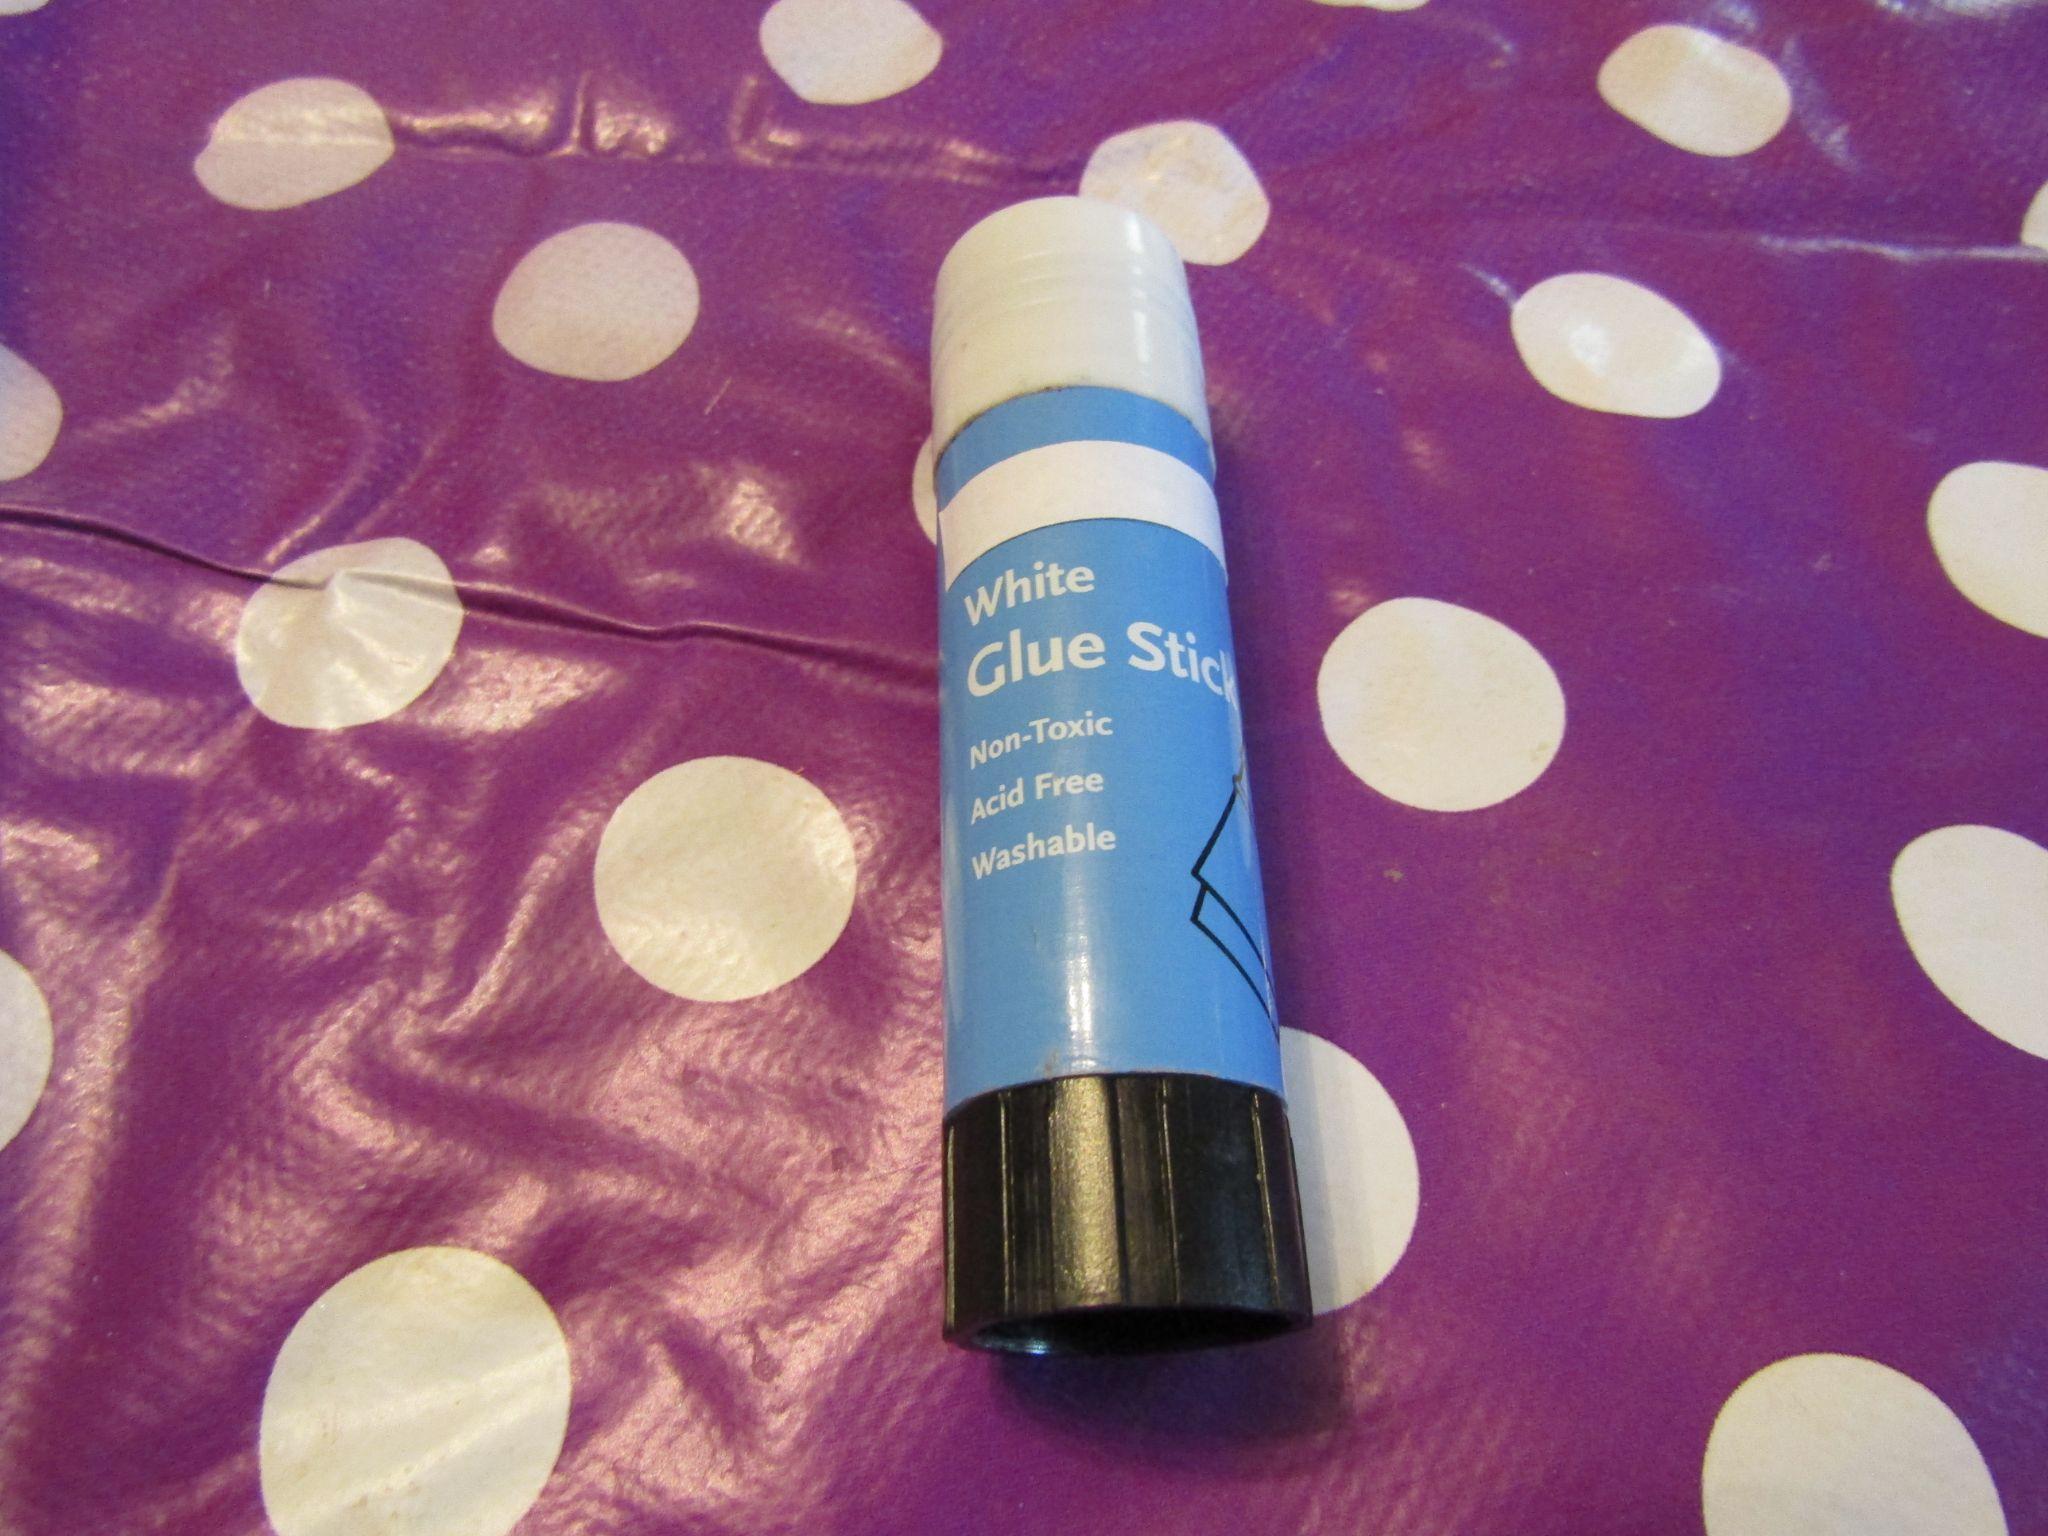
- Glue
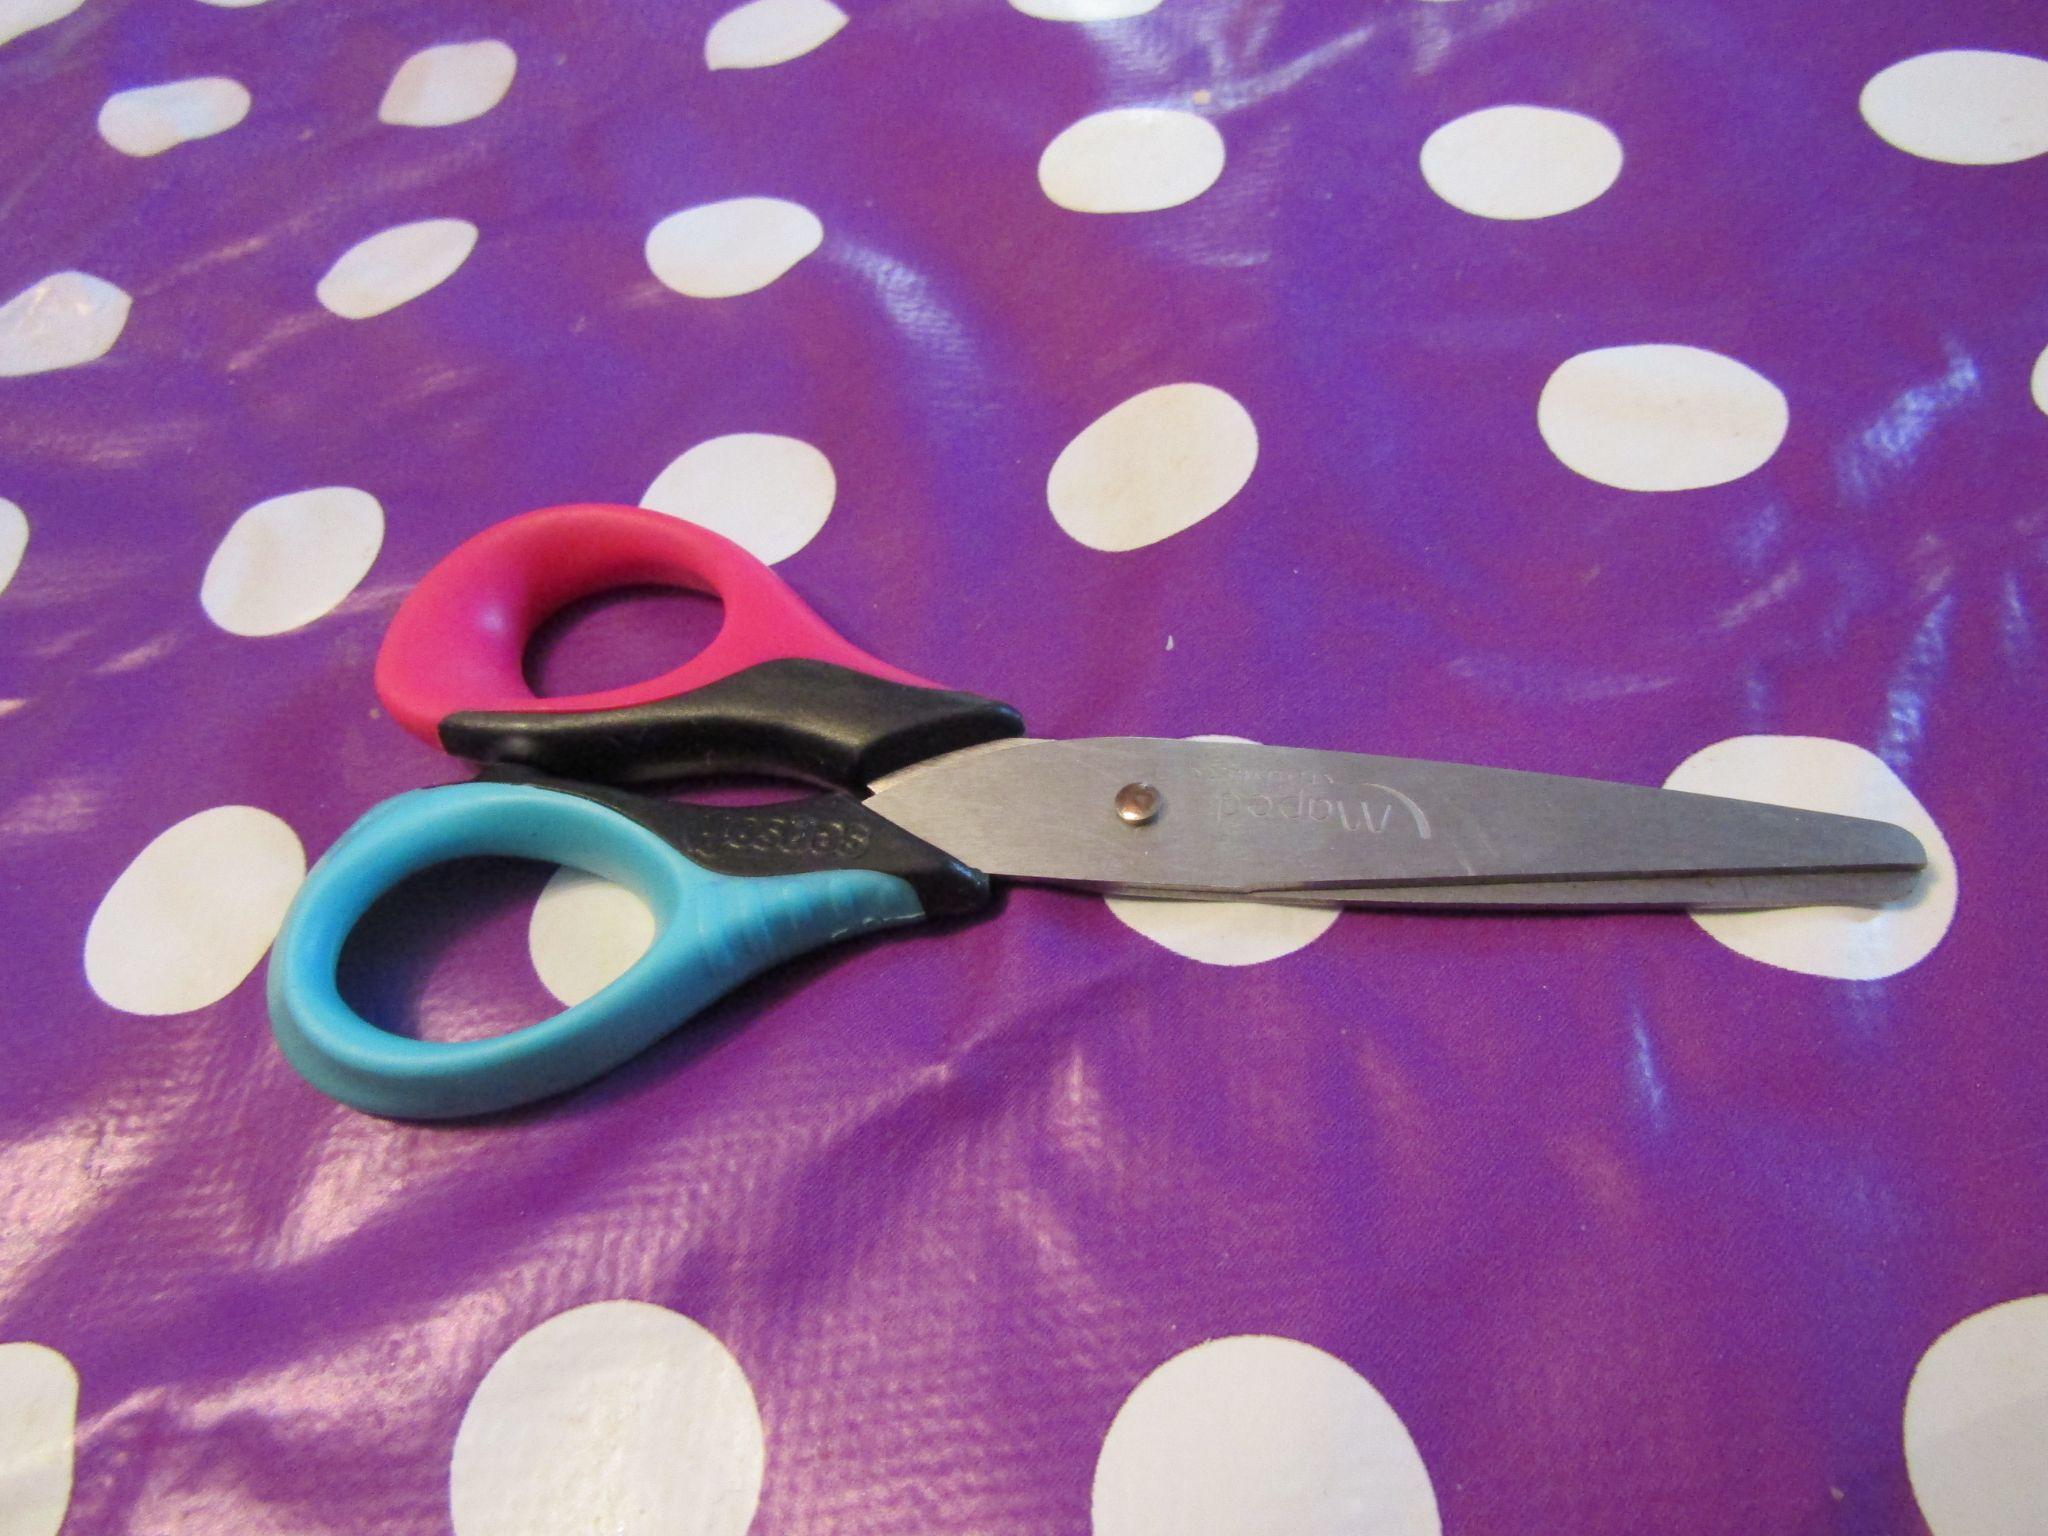
- Scissors
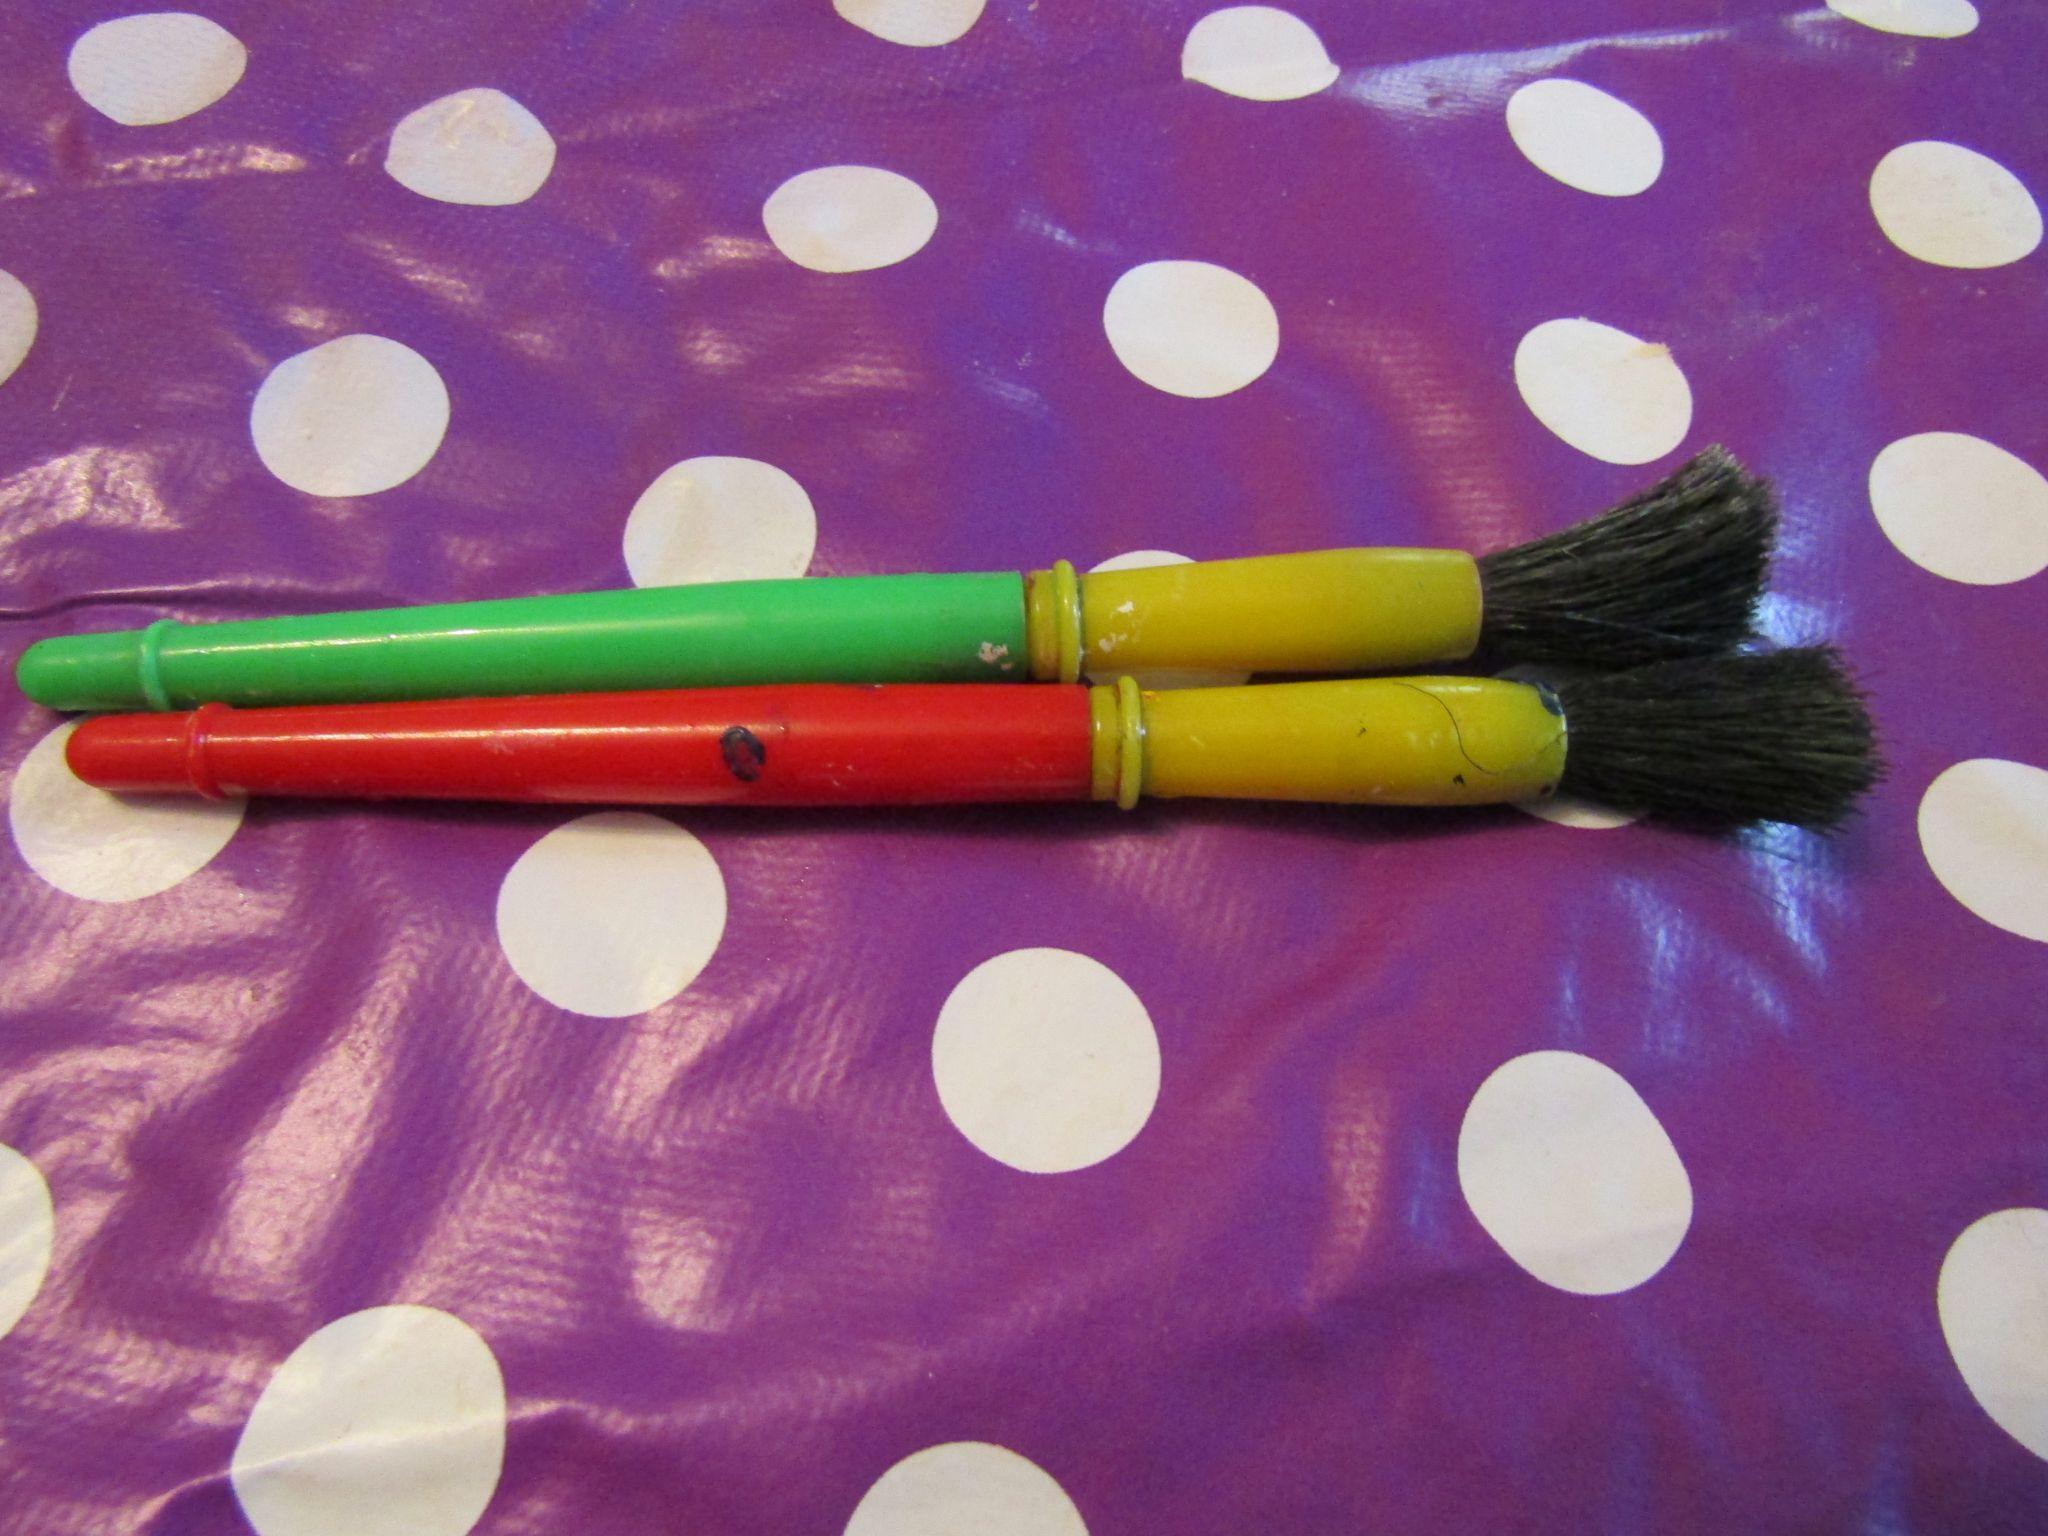
- Paintbrushes
- Paint
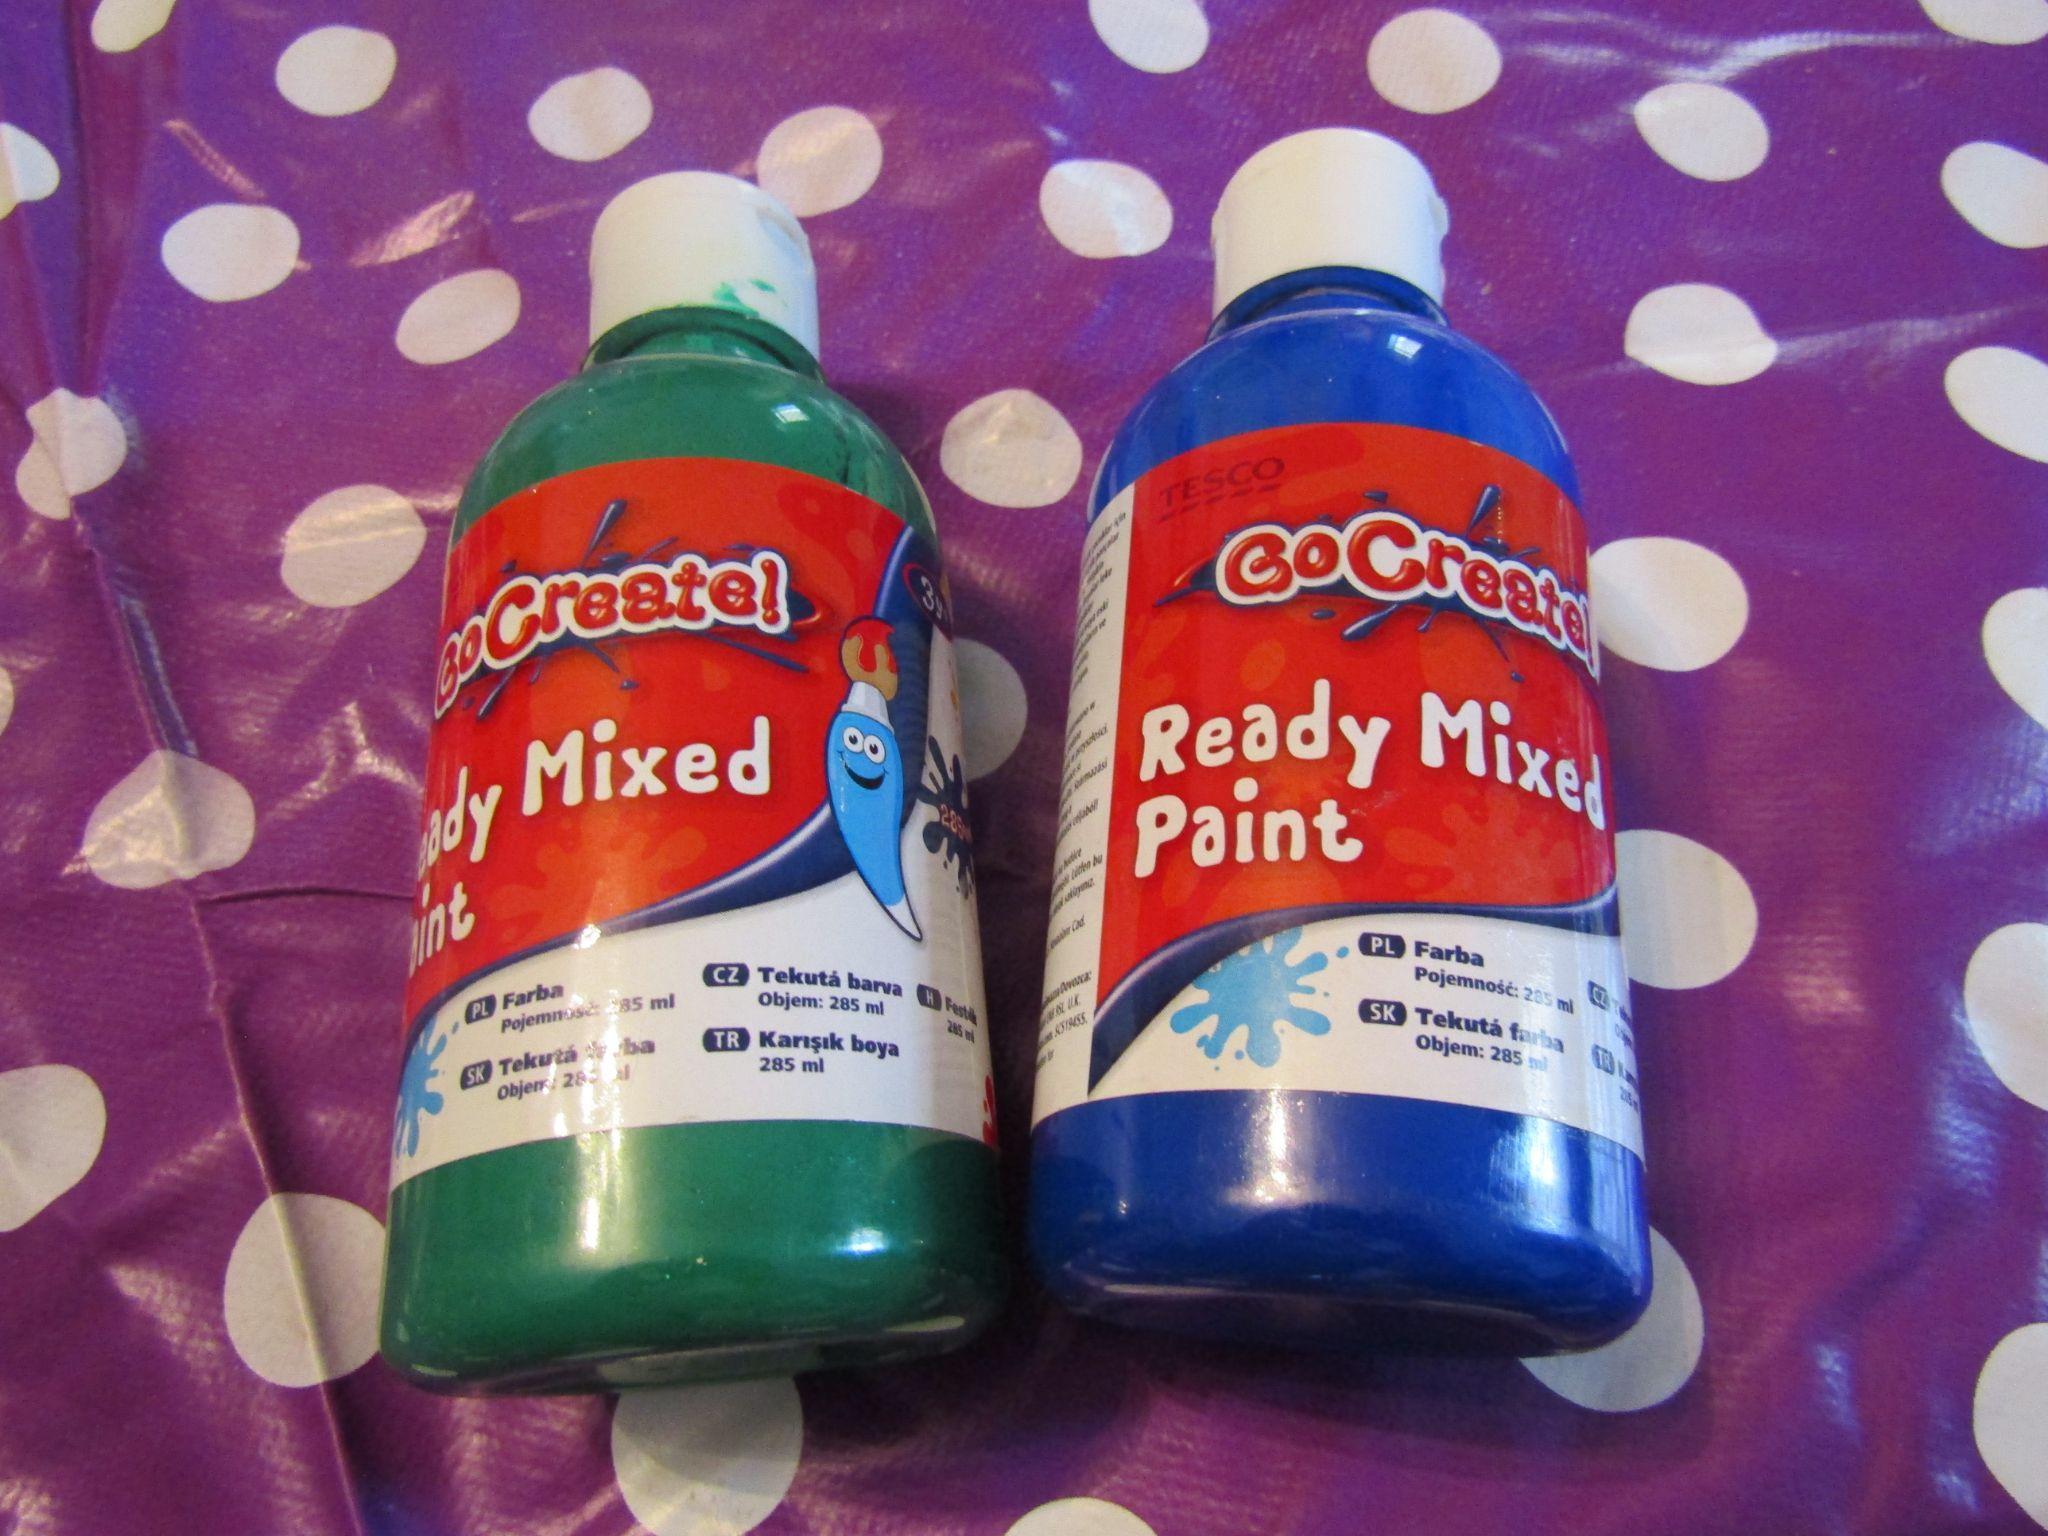
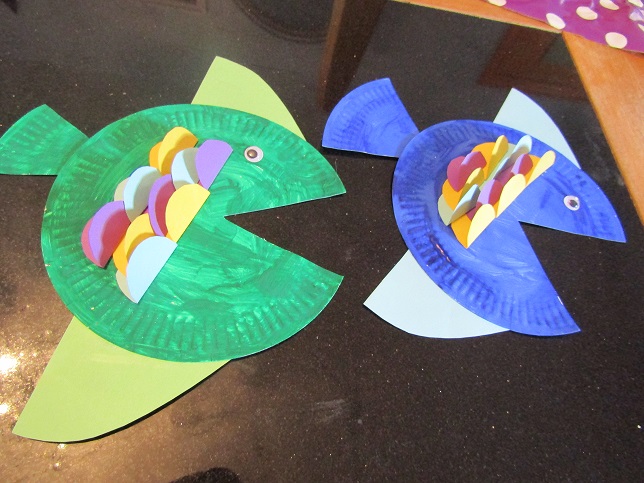
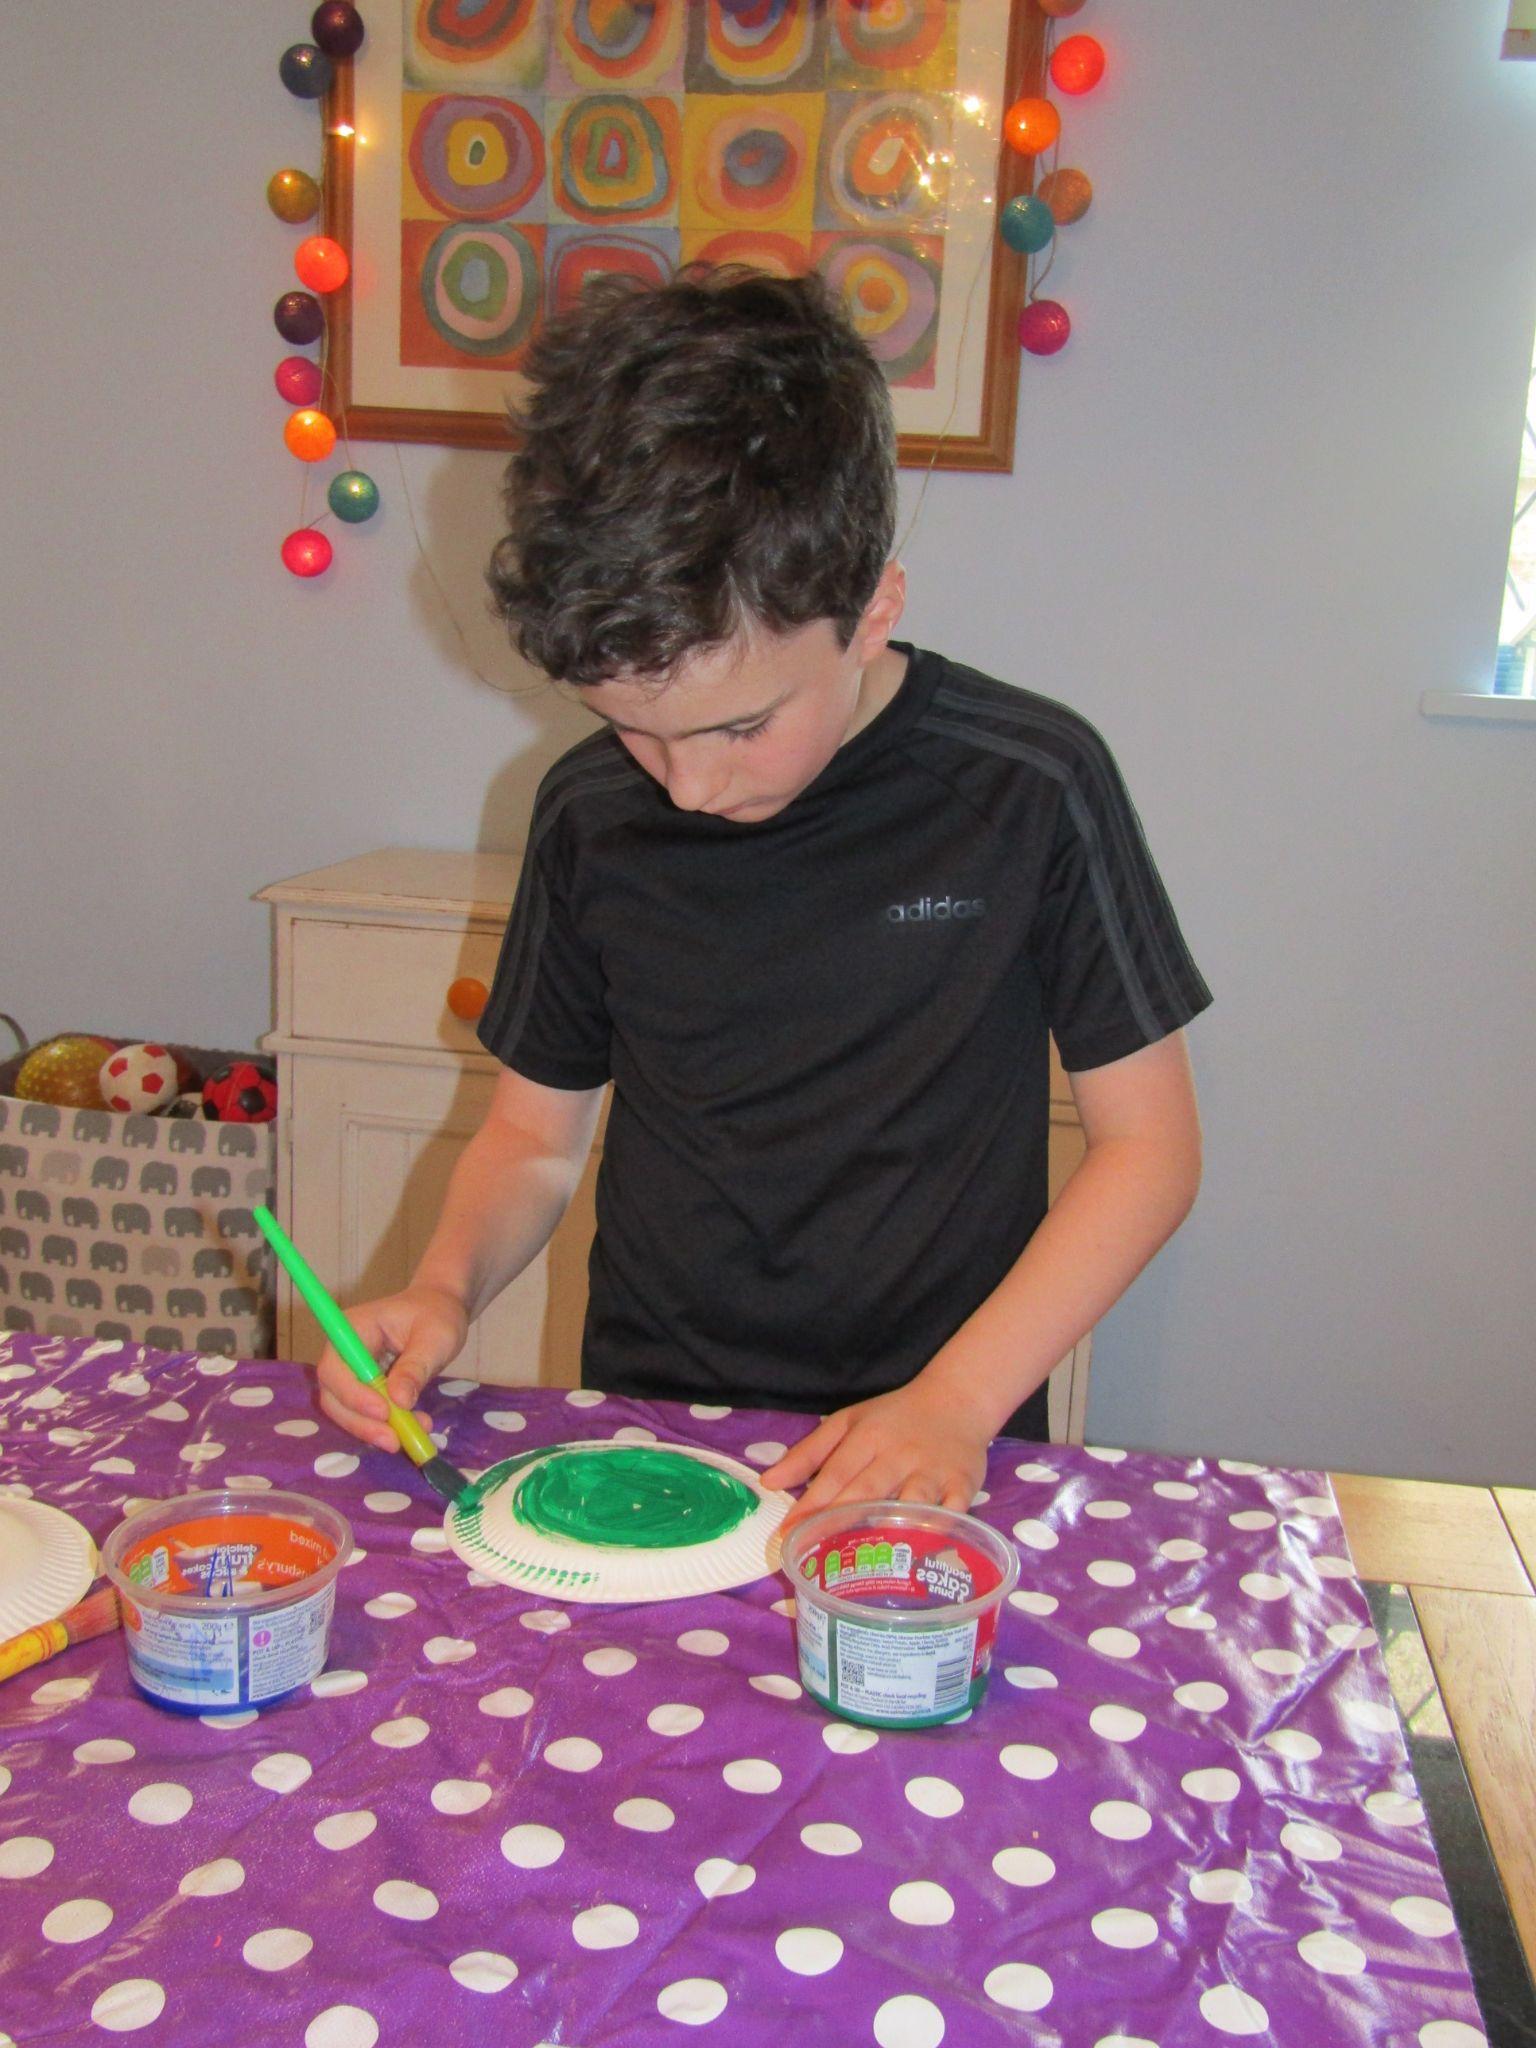
Theo chose to make two fish, one green and one blue, but you can use any colours you like!
- Googly eyes
Googly eyes come in different sizes, so you could make yours a big-eyed fish, or a small-eyed fish!
To make the paper plate fish:
- Paint a paper plate. You can paint it however you like: a solid colour, like Theo has done, or with stripes, spots, or anything else you can think of!
Then put it to one side and leave it to dry.
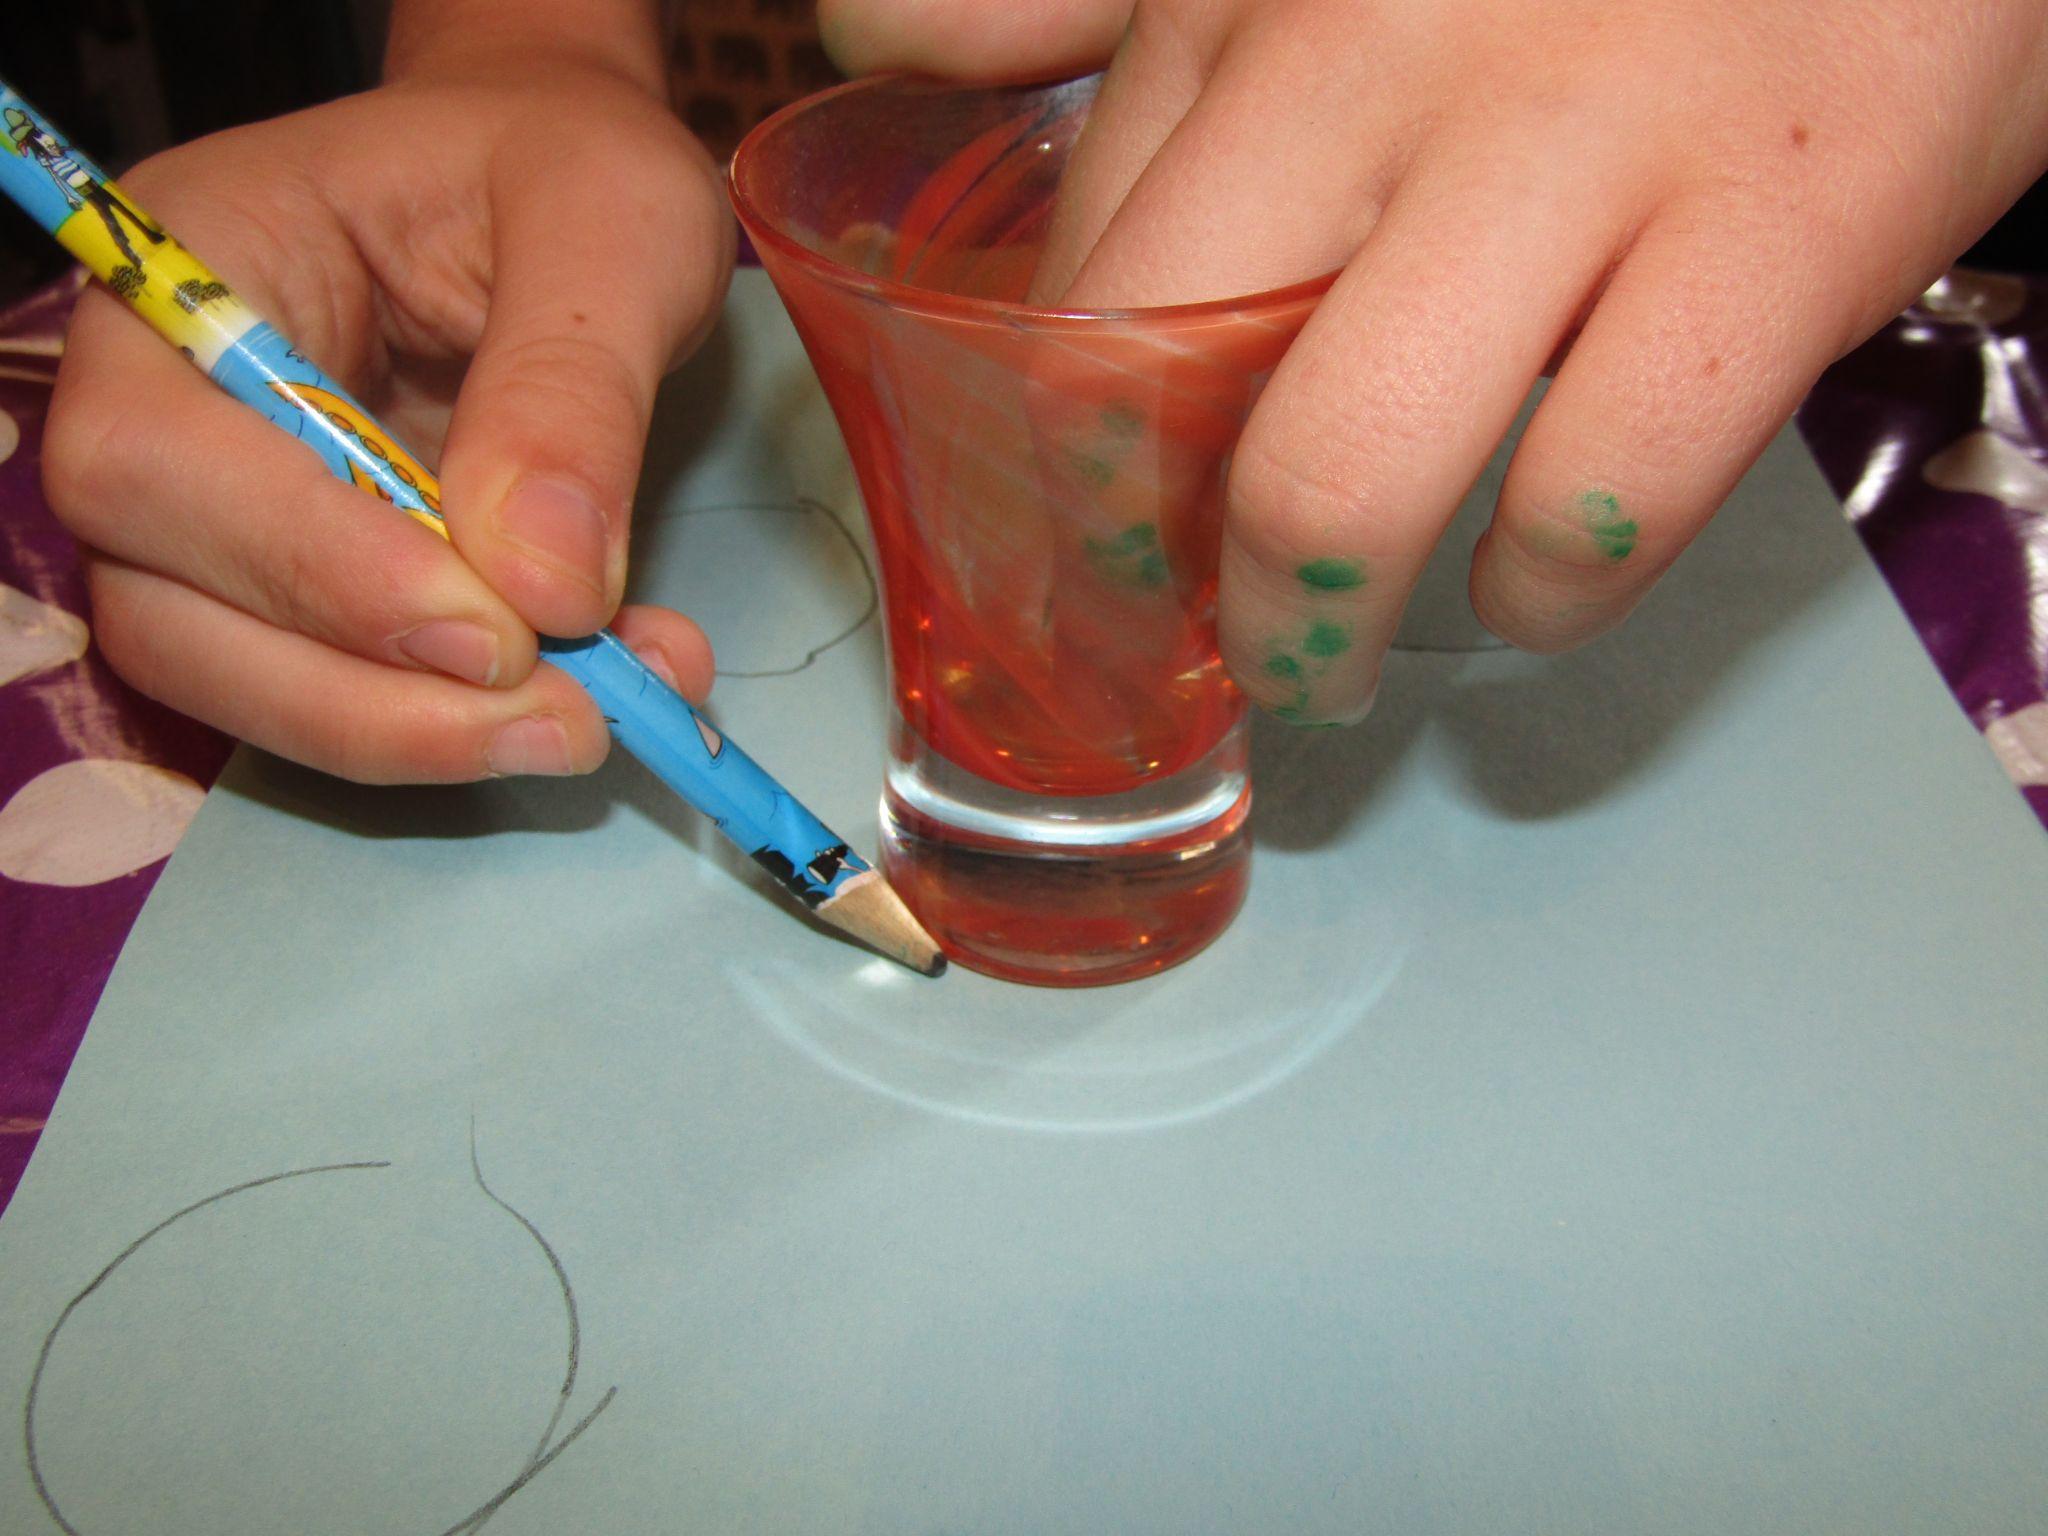
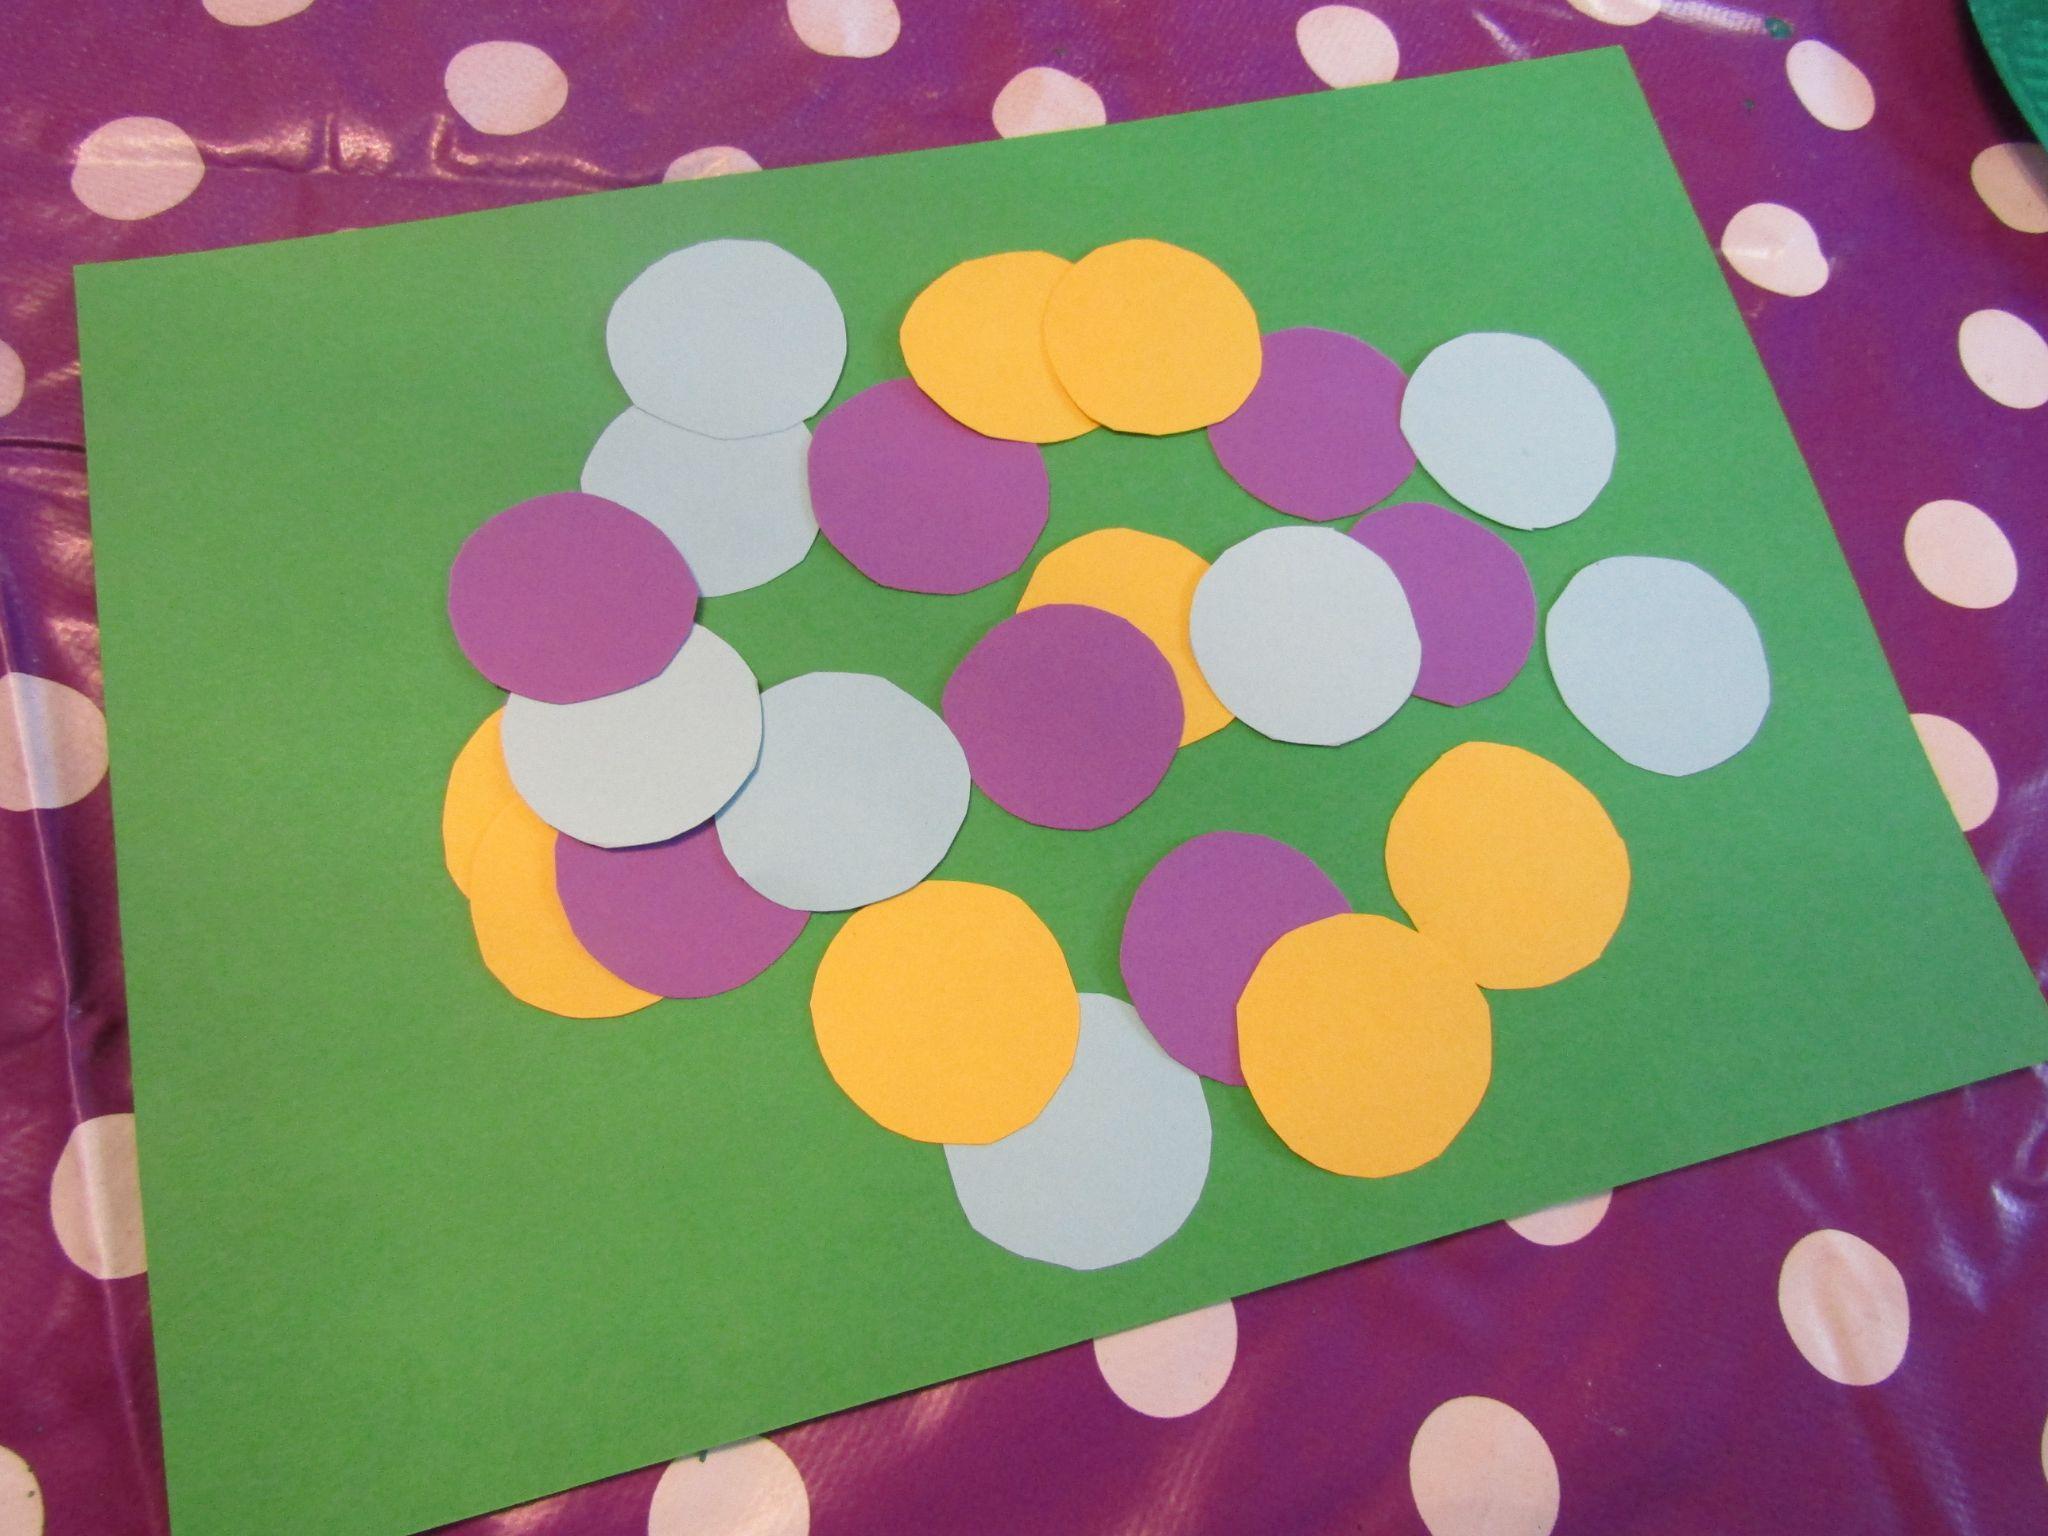
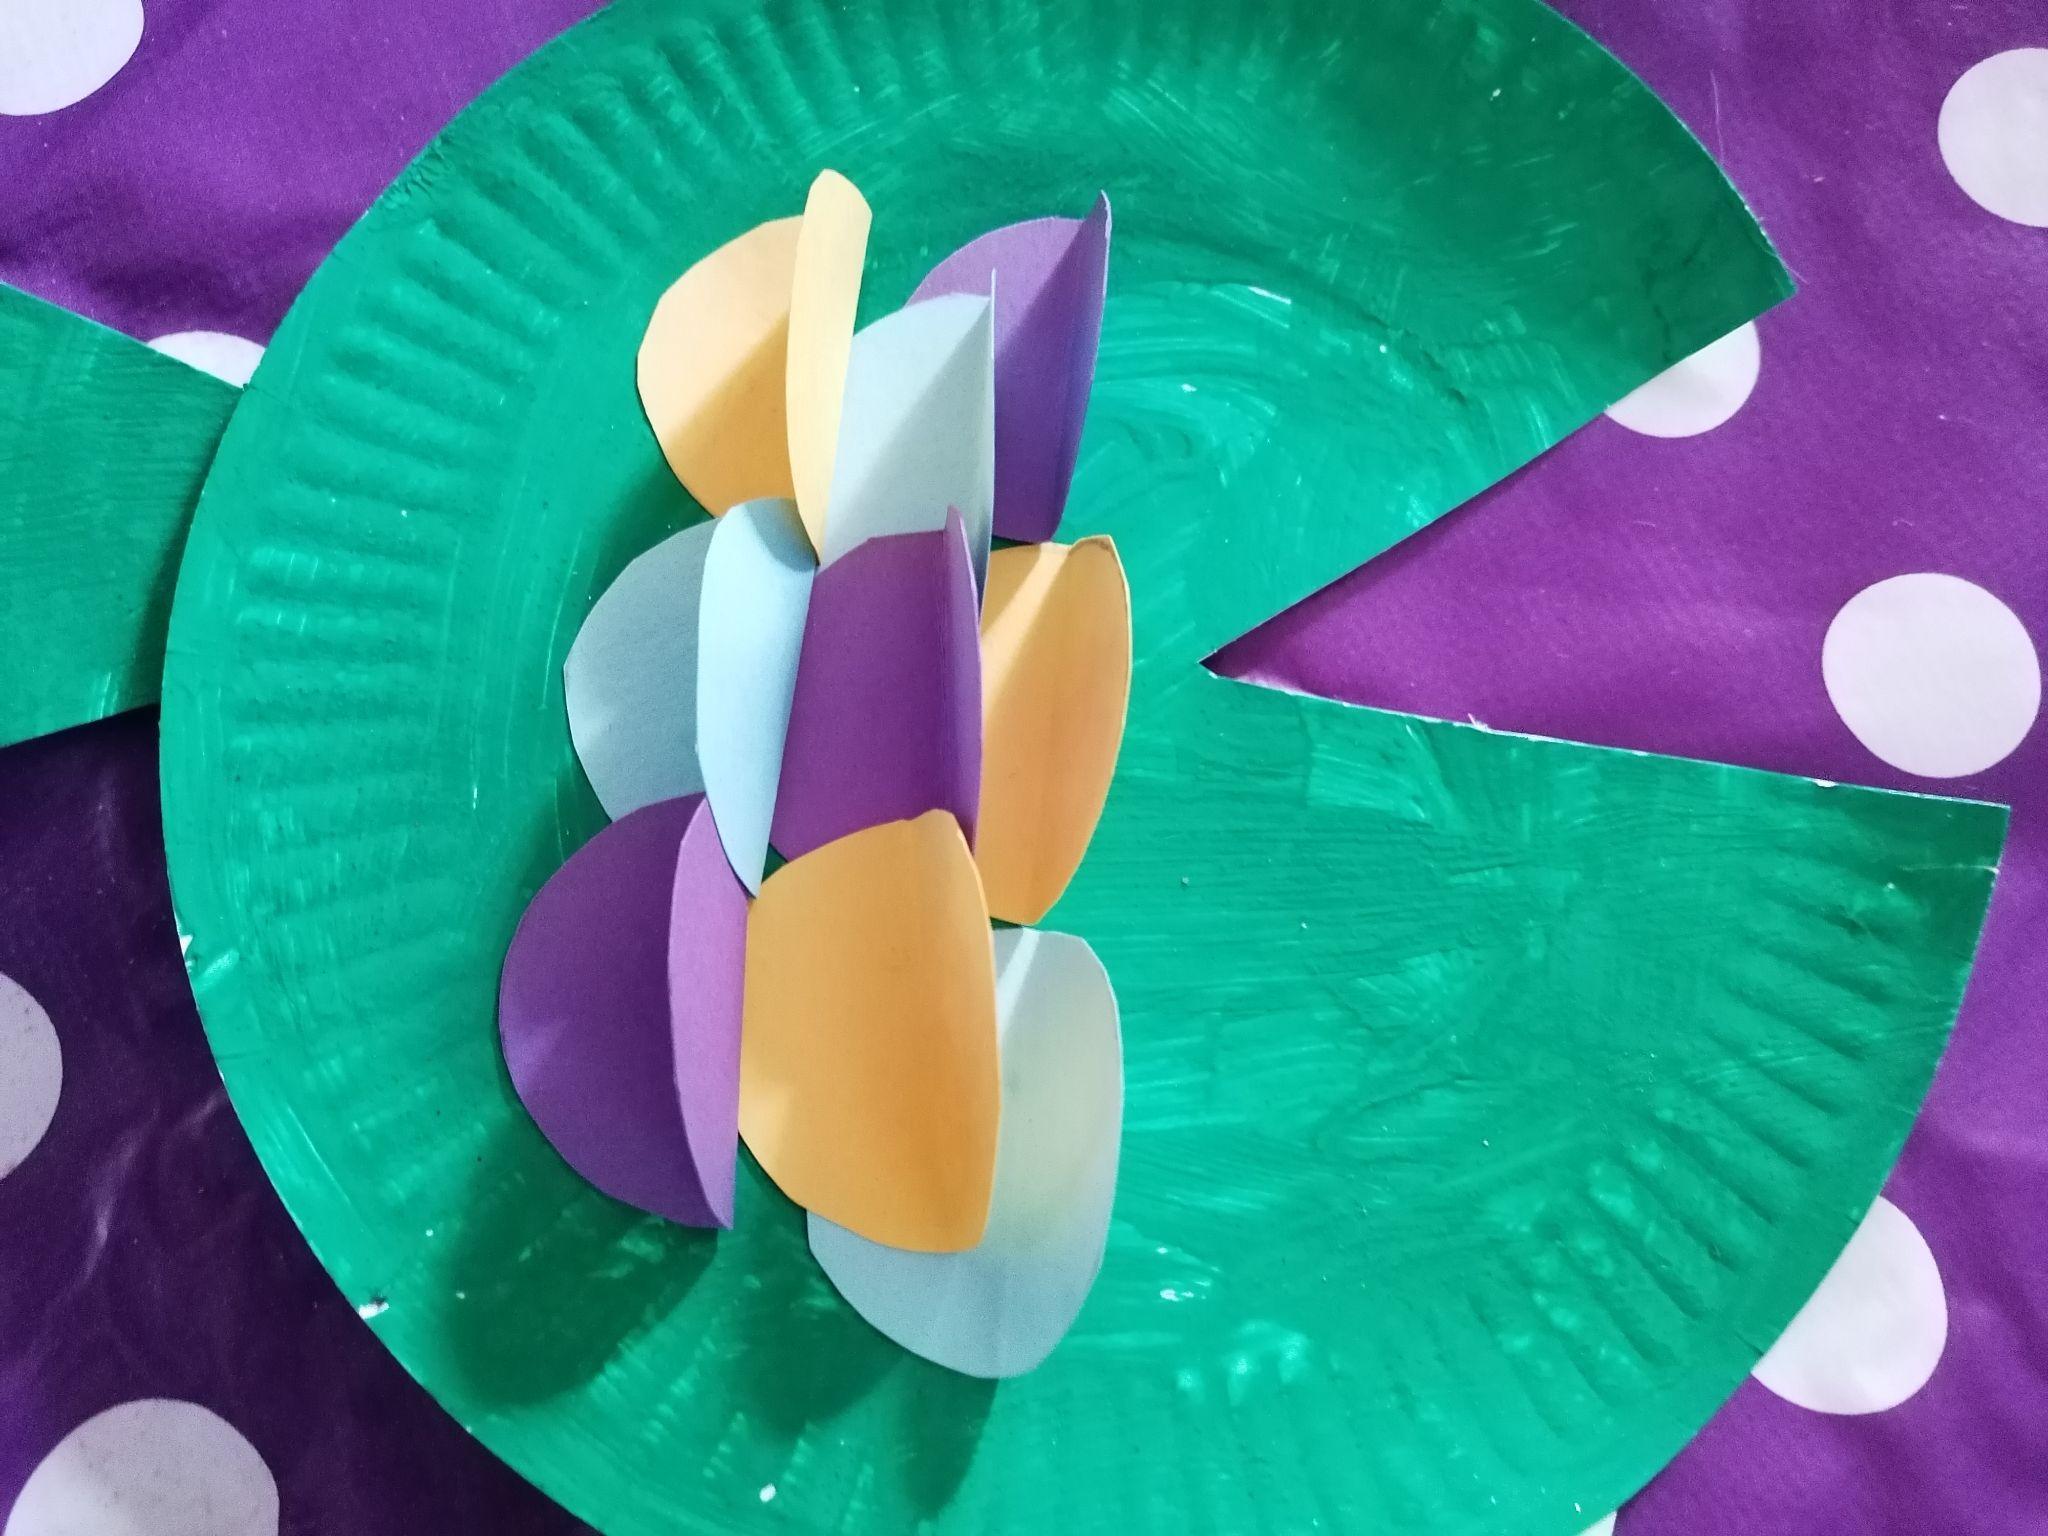
- While your plate is drying, draw lots of small circles on your coloured card (use whichever colours you like for these, as well!): they will be your fish’s scales. Theo used a glass as a stencil for his.
- If you’ve used a small paper plate then you’ll need between 9 and 12 circles, or up to 20 for a larger plate.
- You can decorate the scales, or leave them plain.
- Carefully cut out your circles: ask an adult for help if you need to.
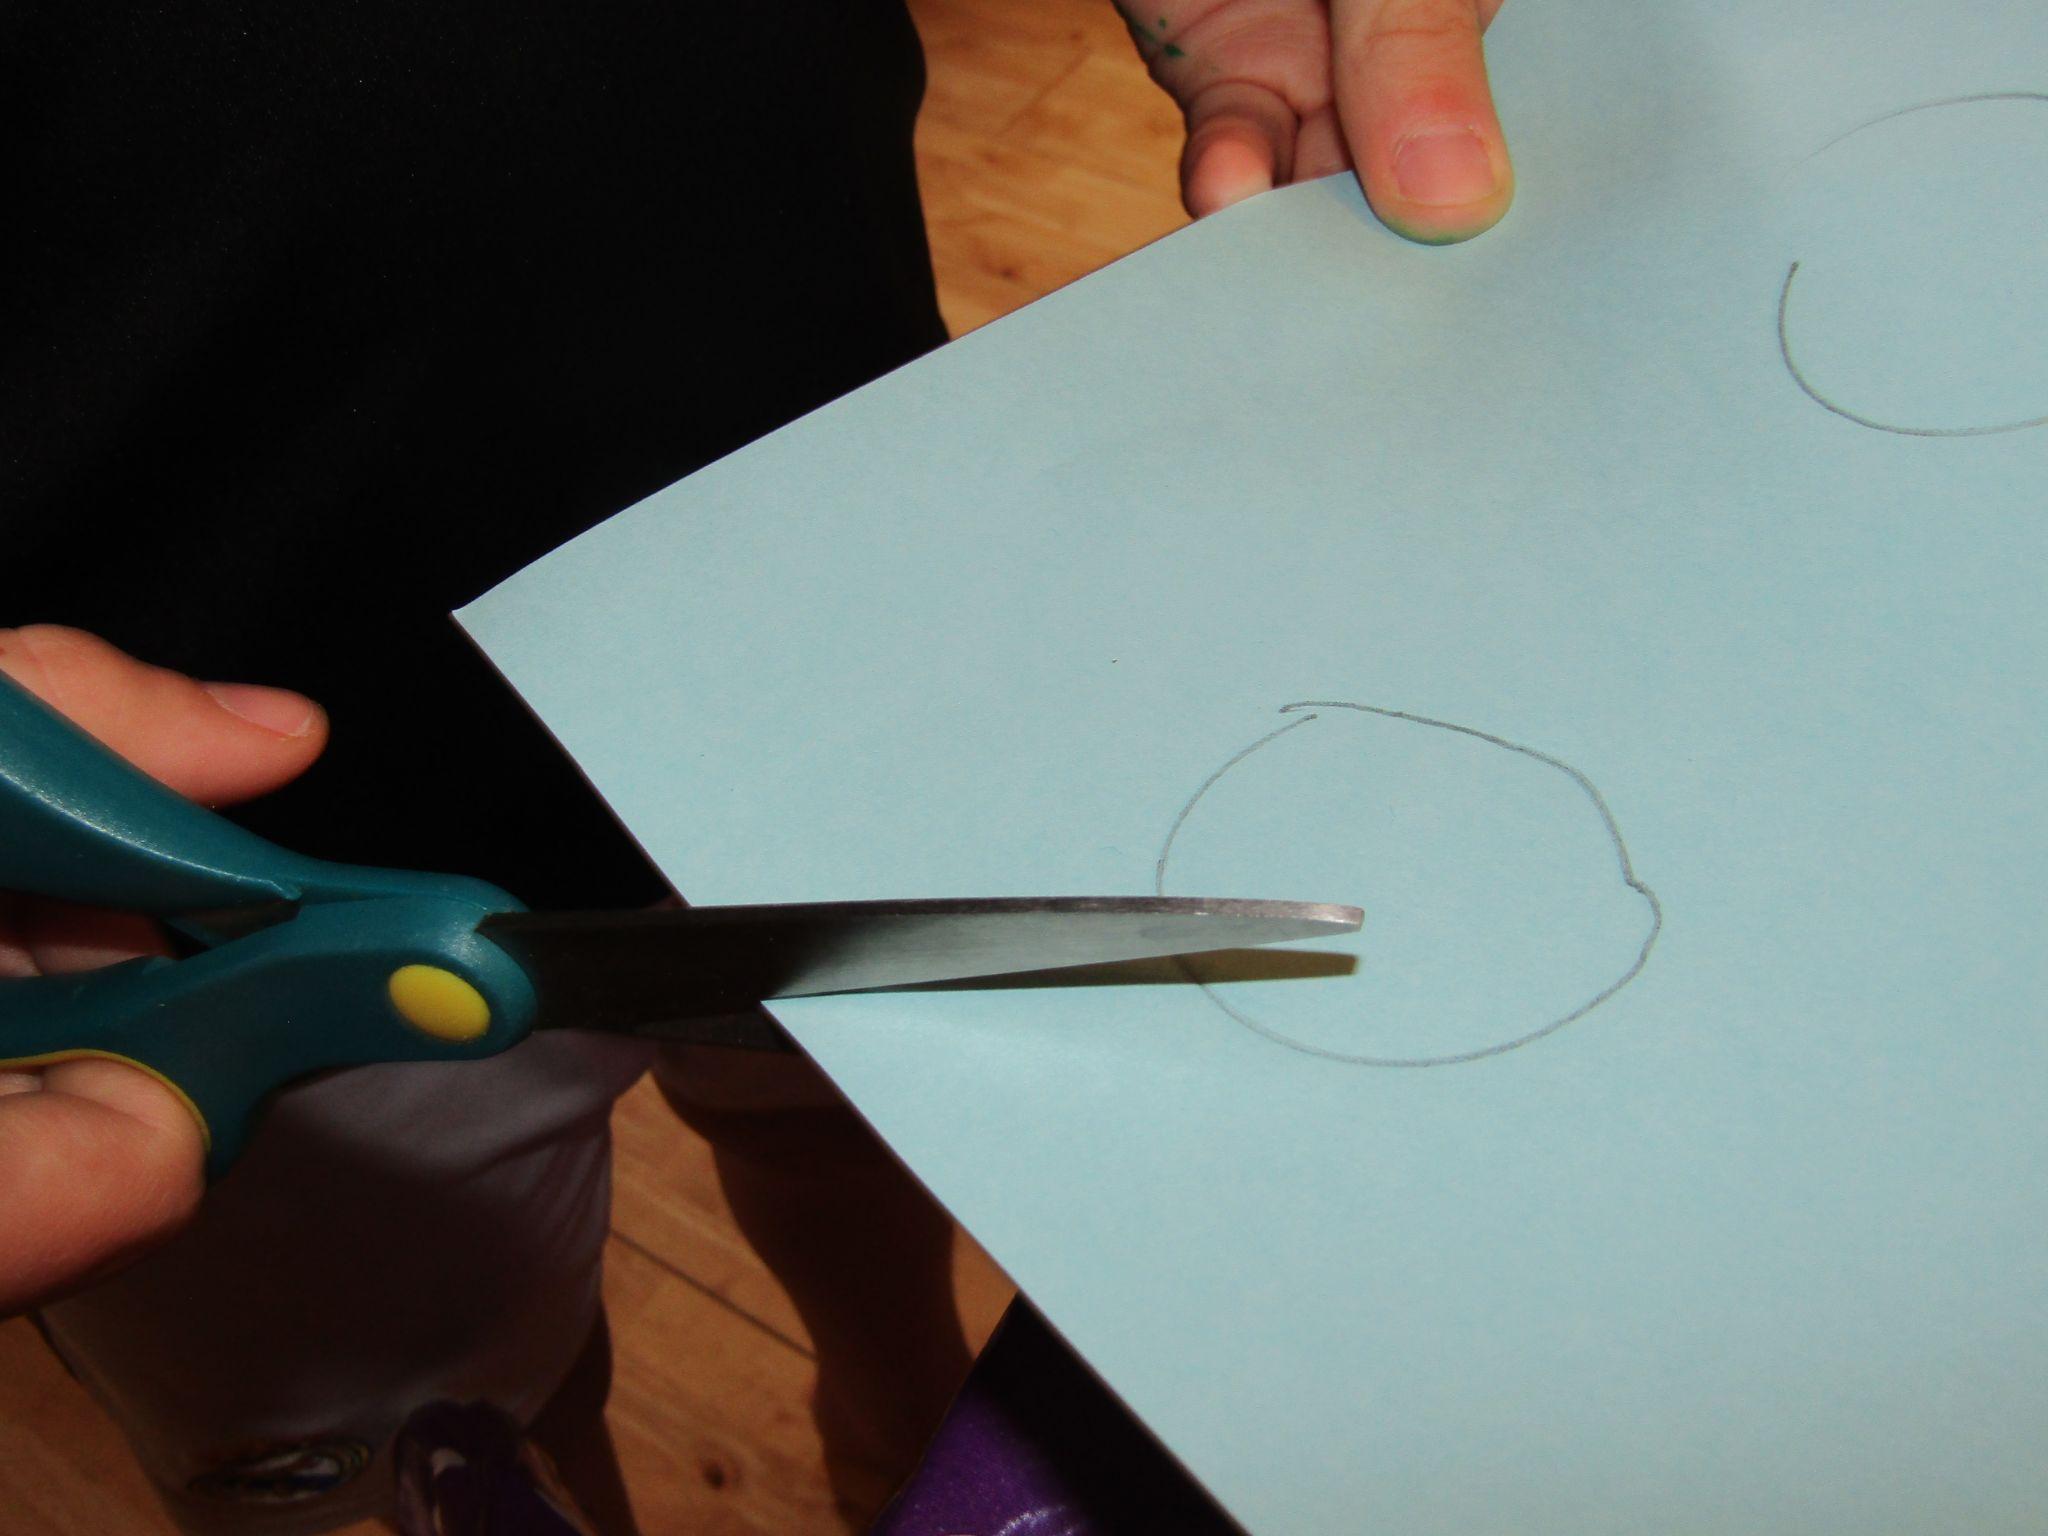
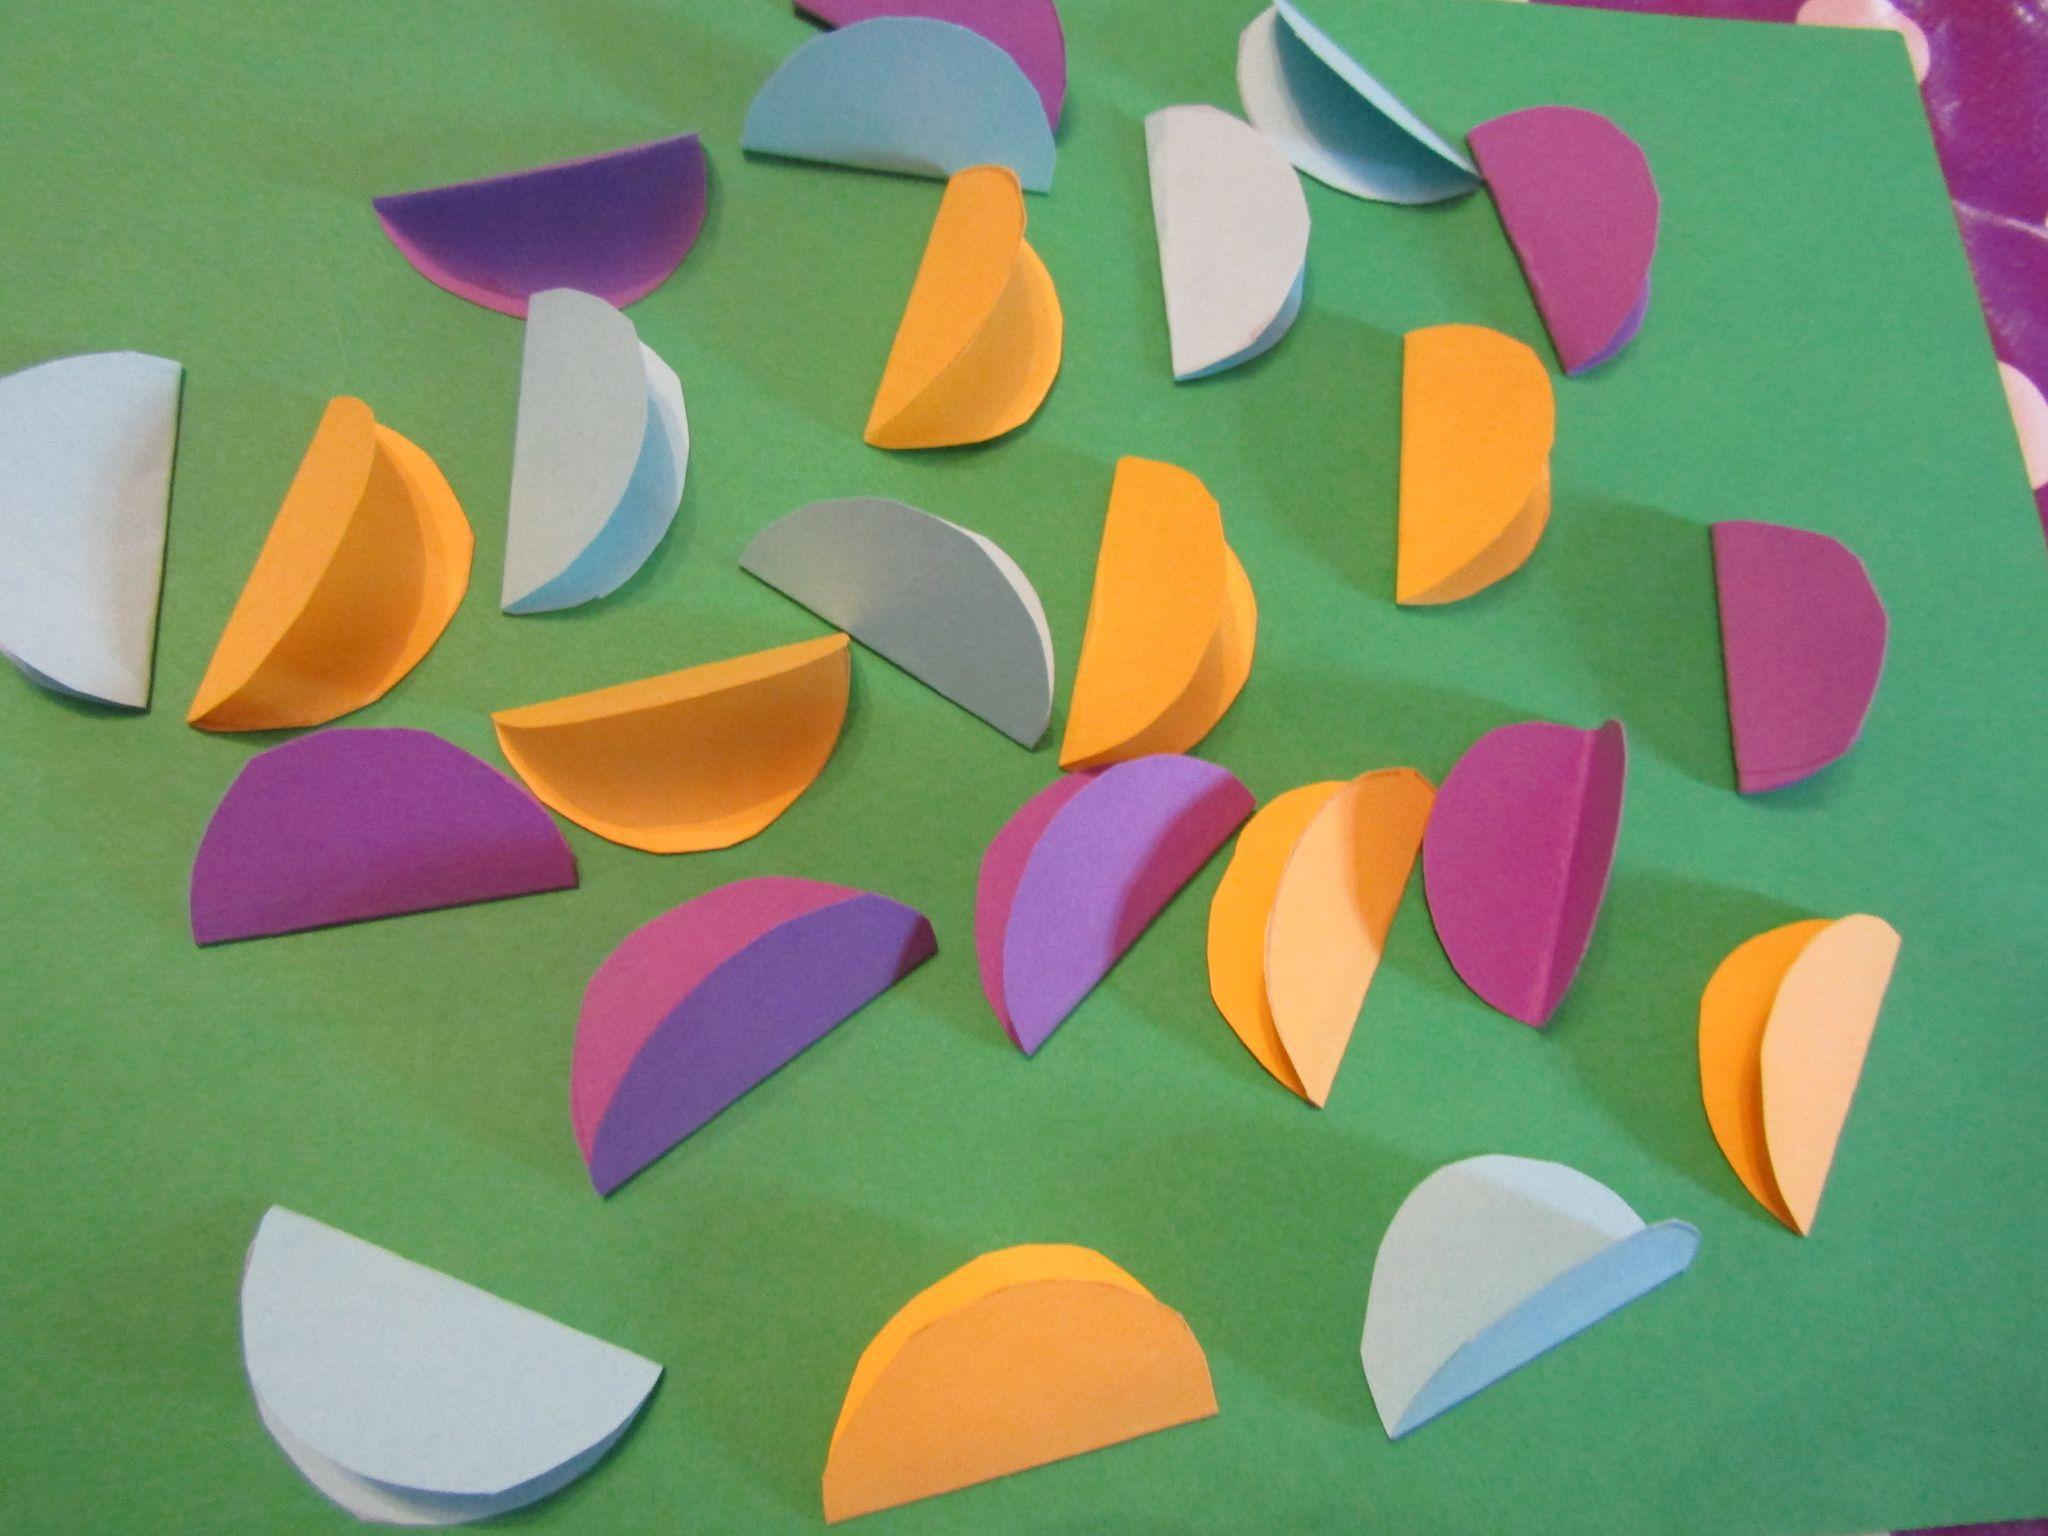
- Fold your circles in half.
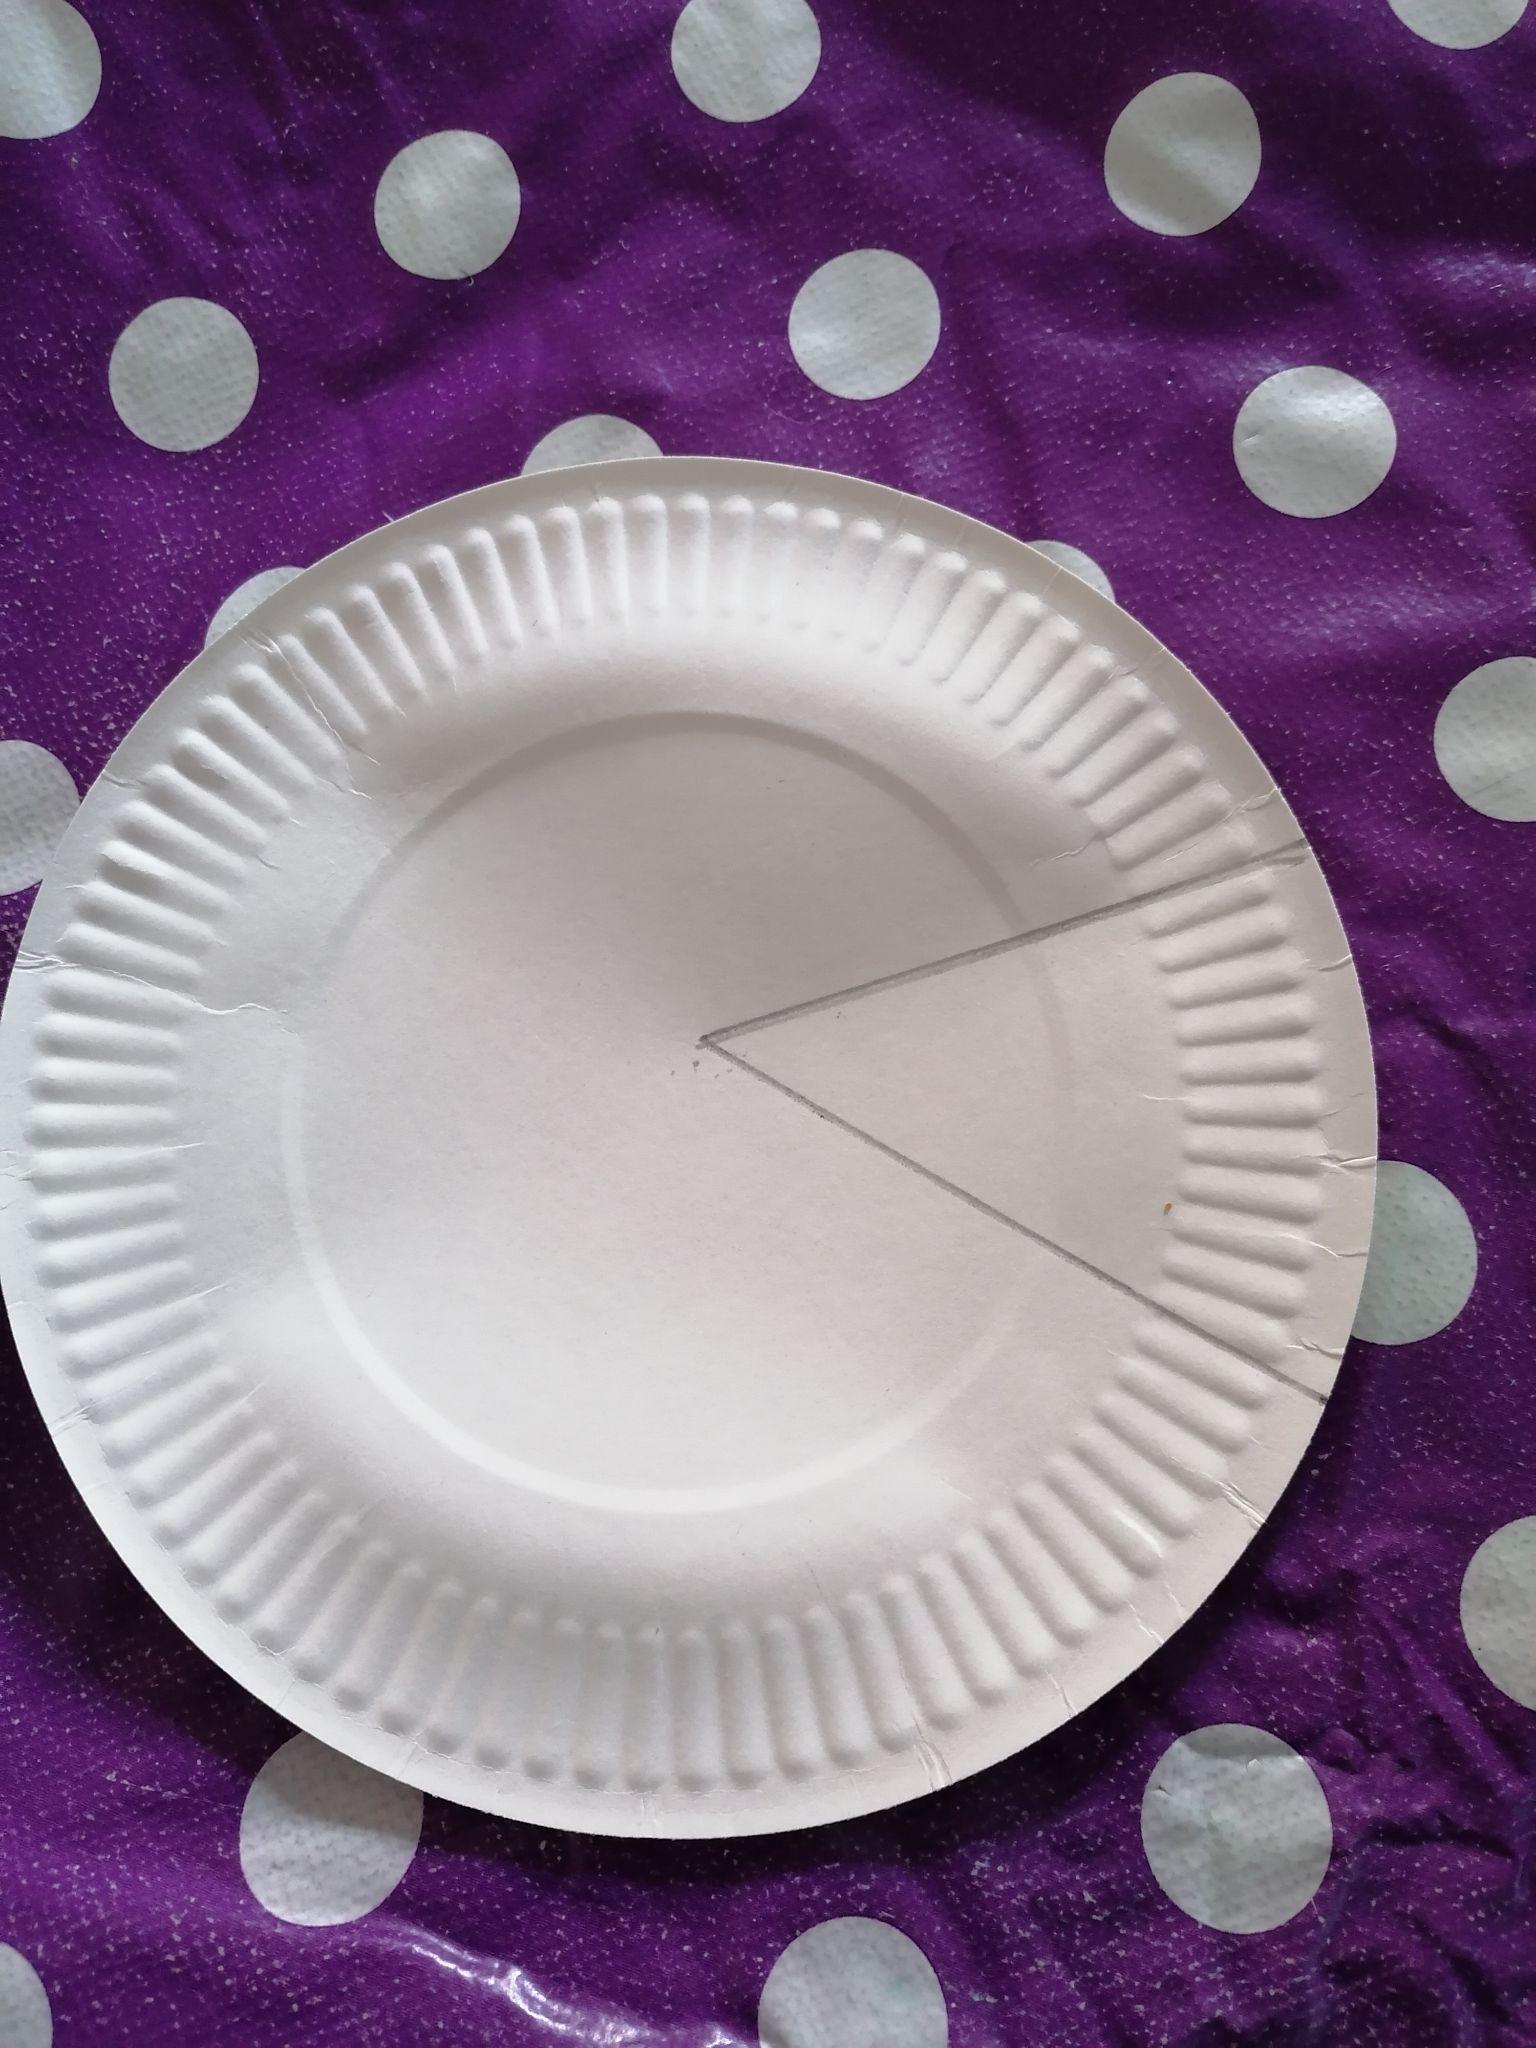
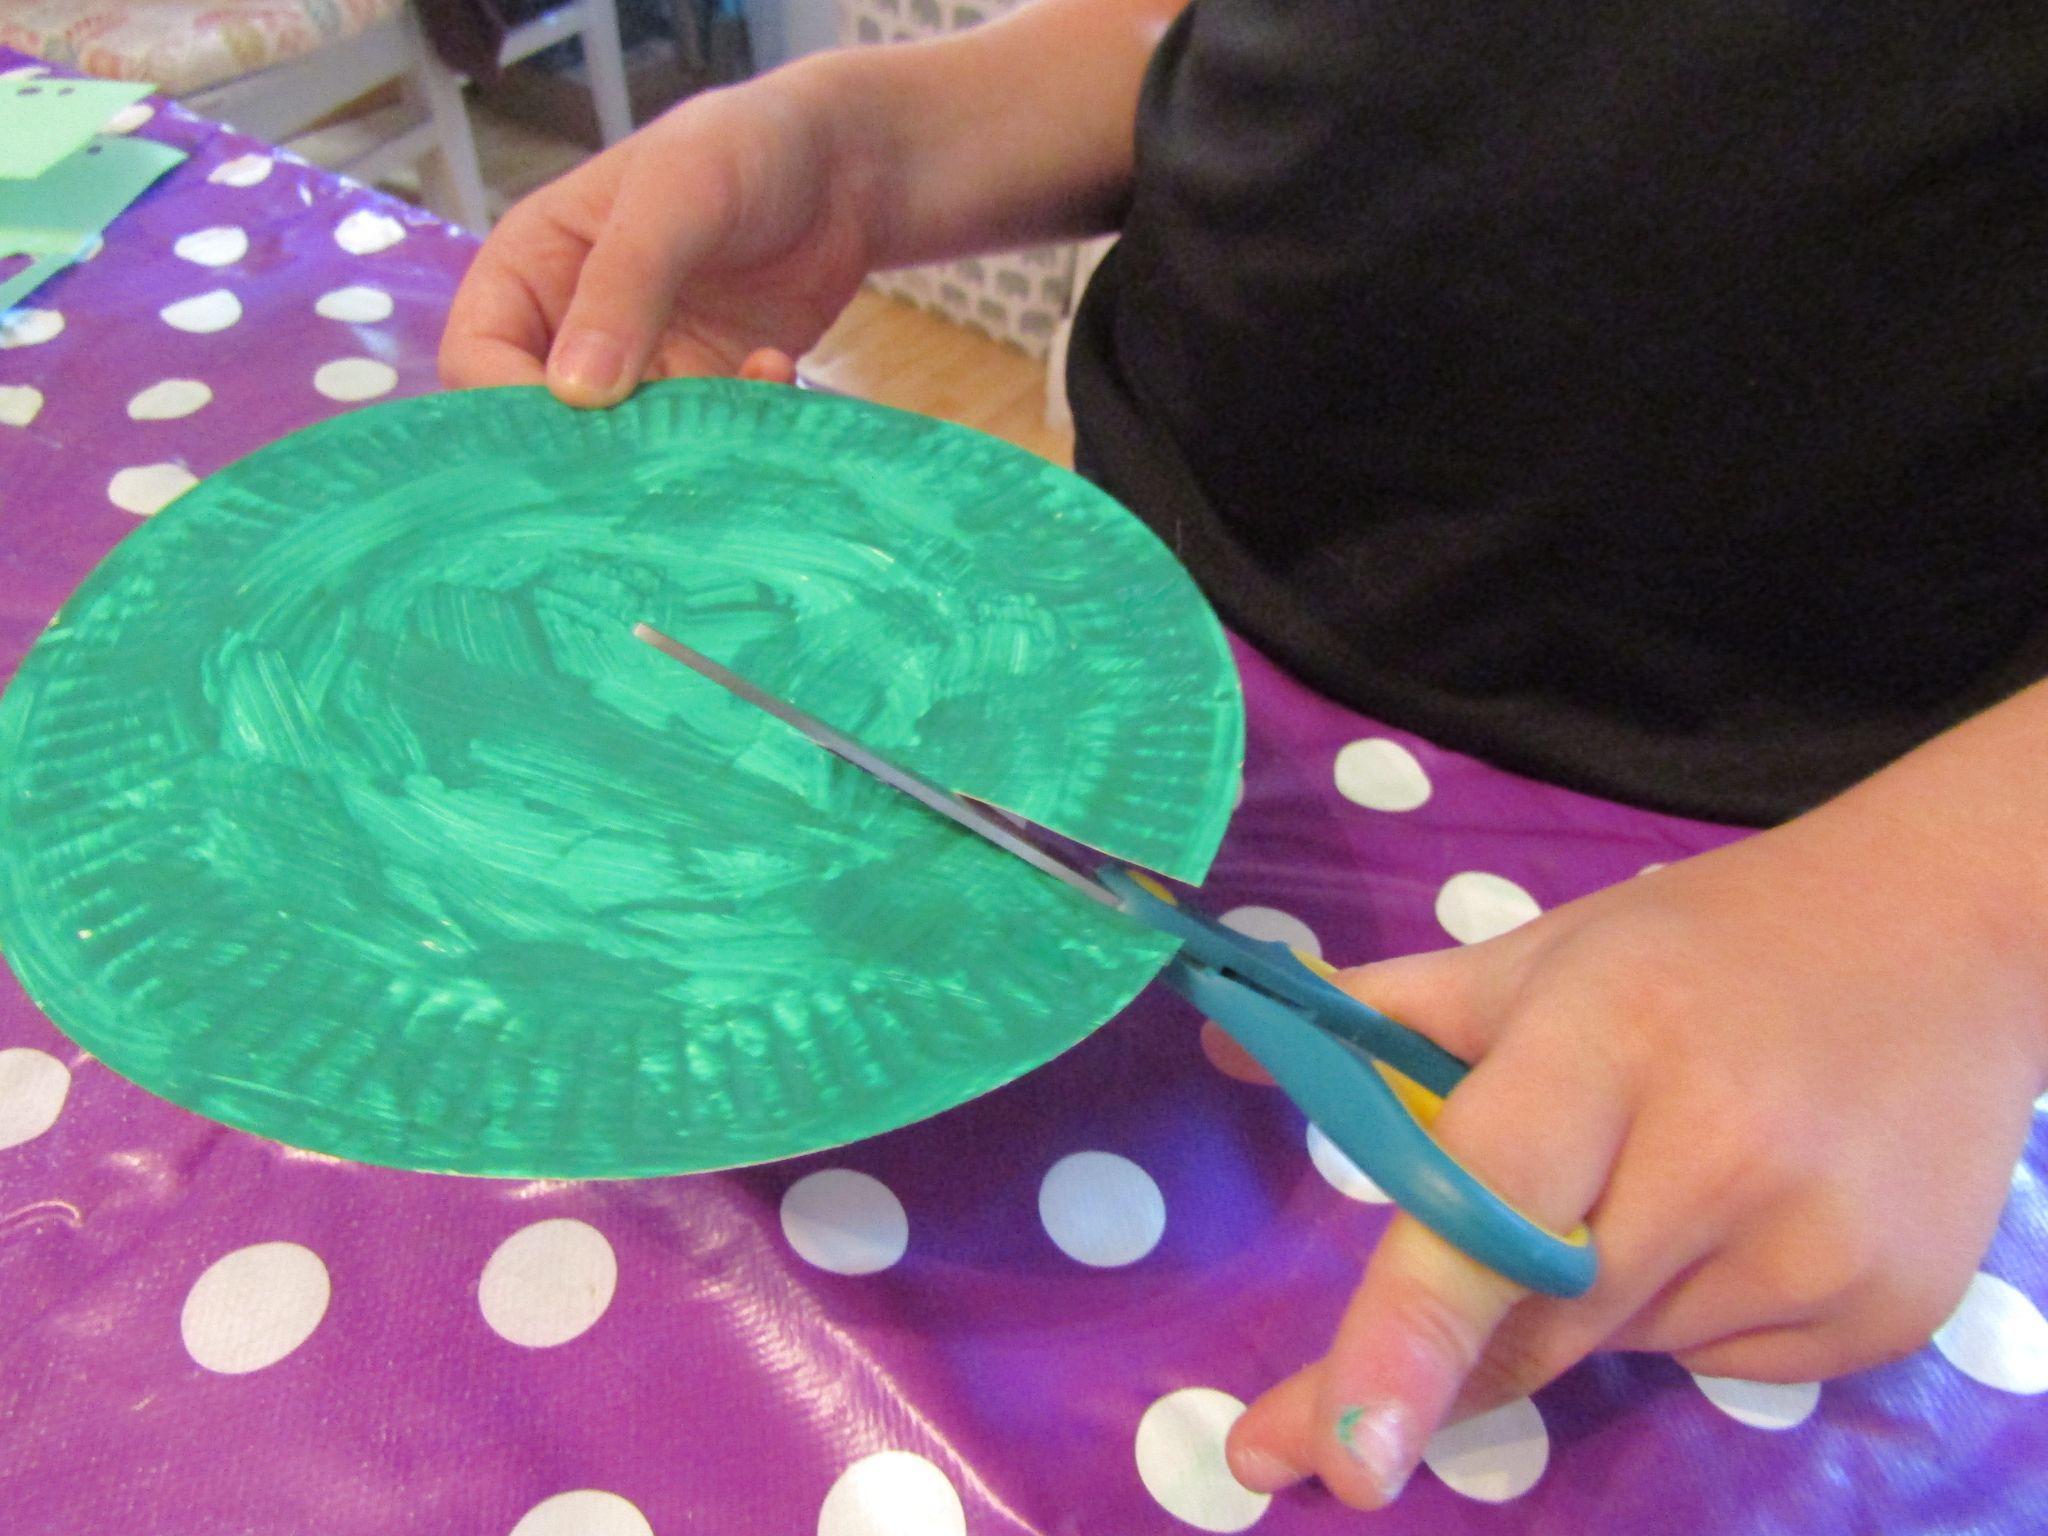
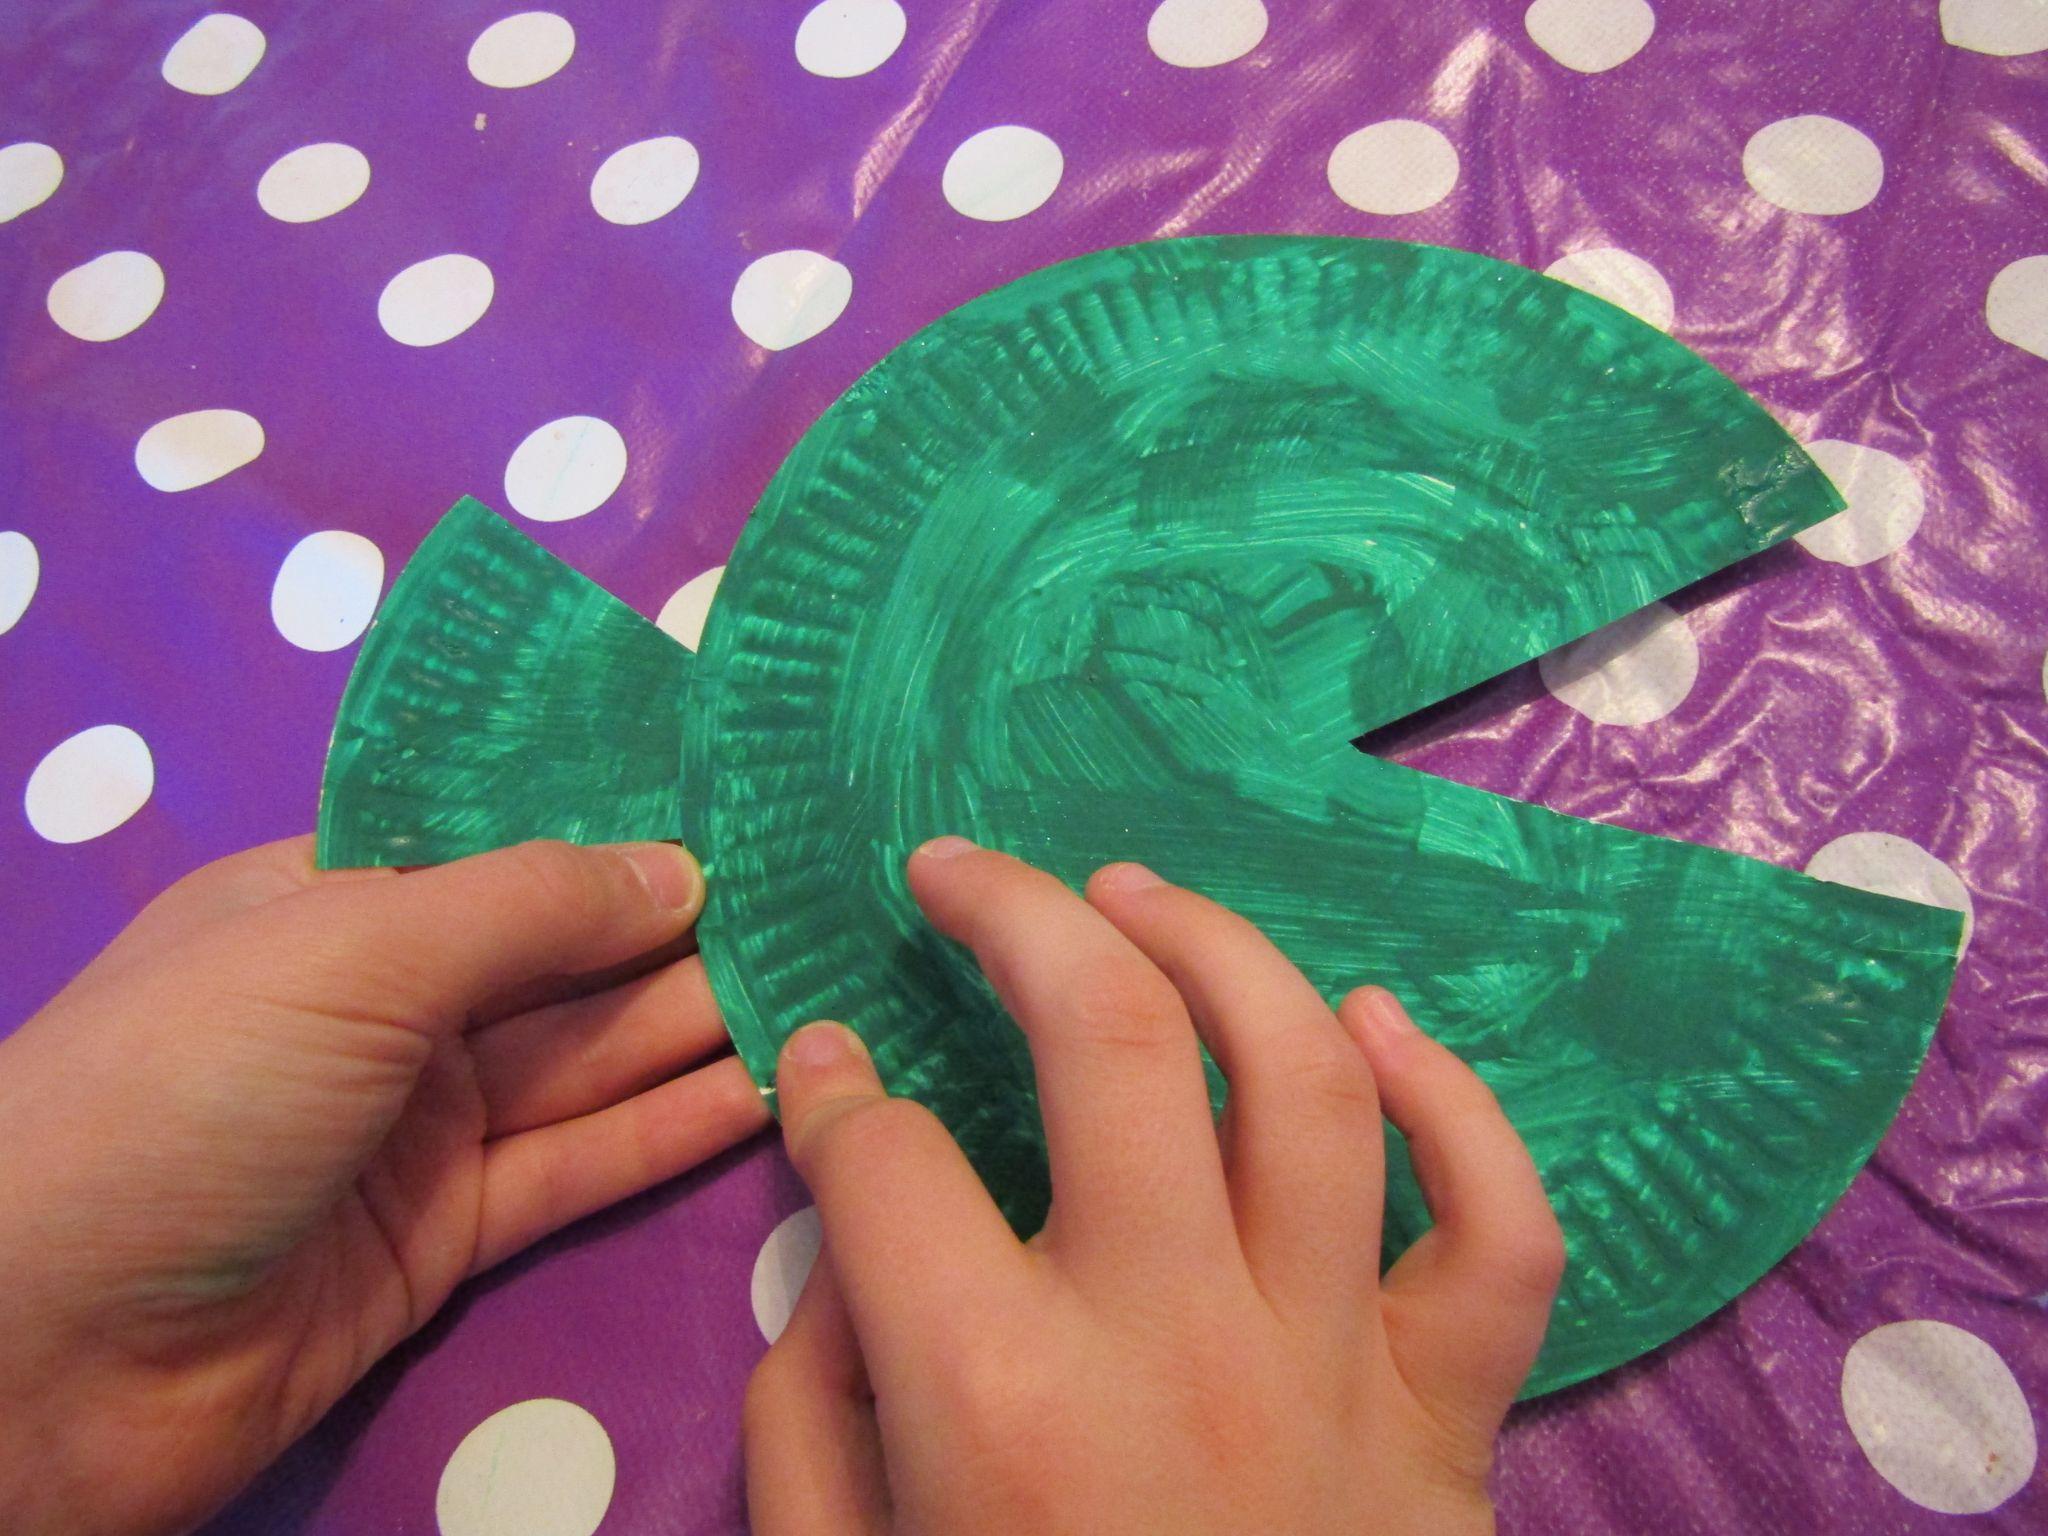
- When the paint on your plate is dry, turn it over. Draw a triangle (don’t worry about making it too accurate) and cut it out, to make your fish’s mouth. Keep the triangle, though, as it will become the fish’s tail!
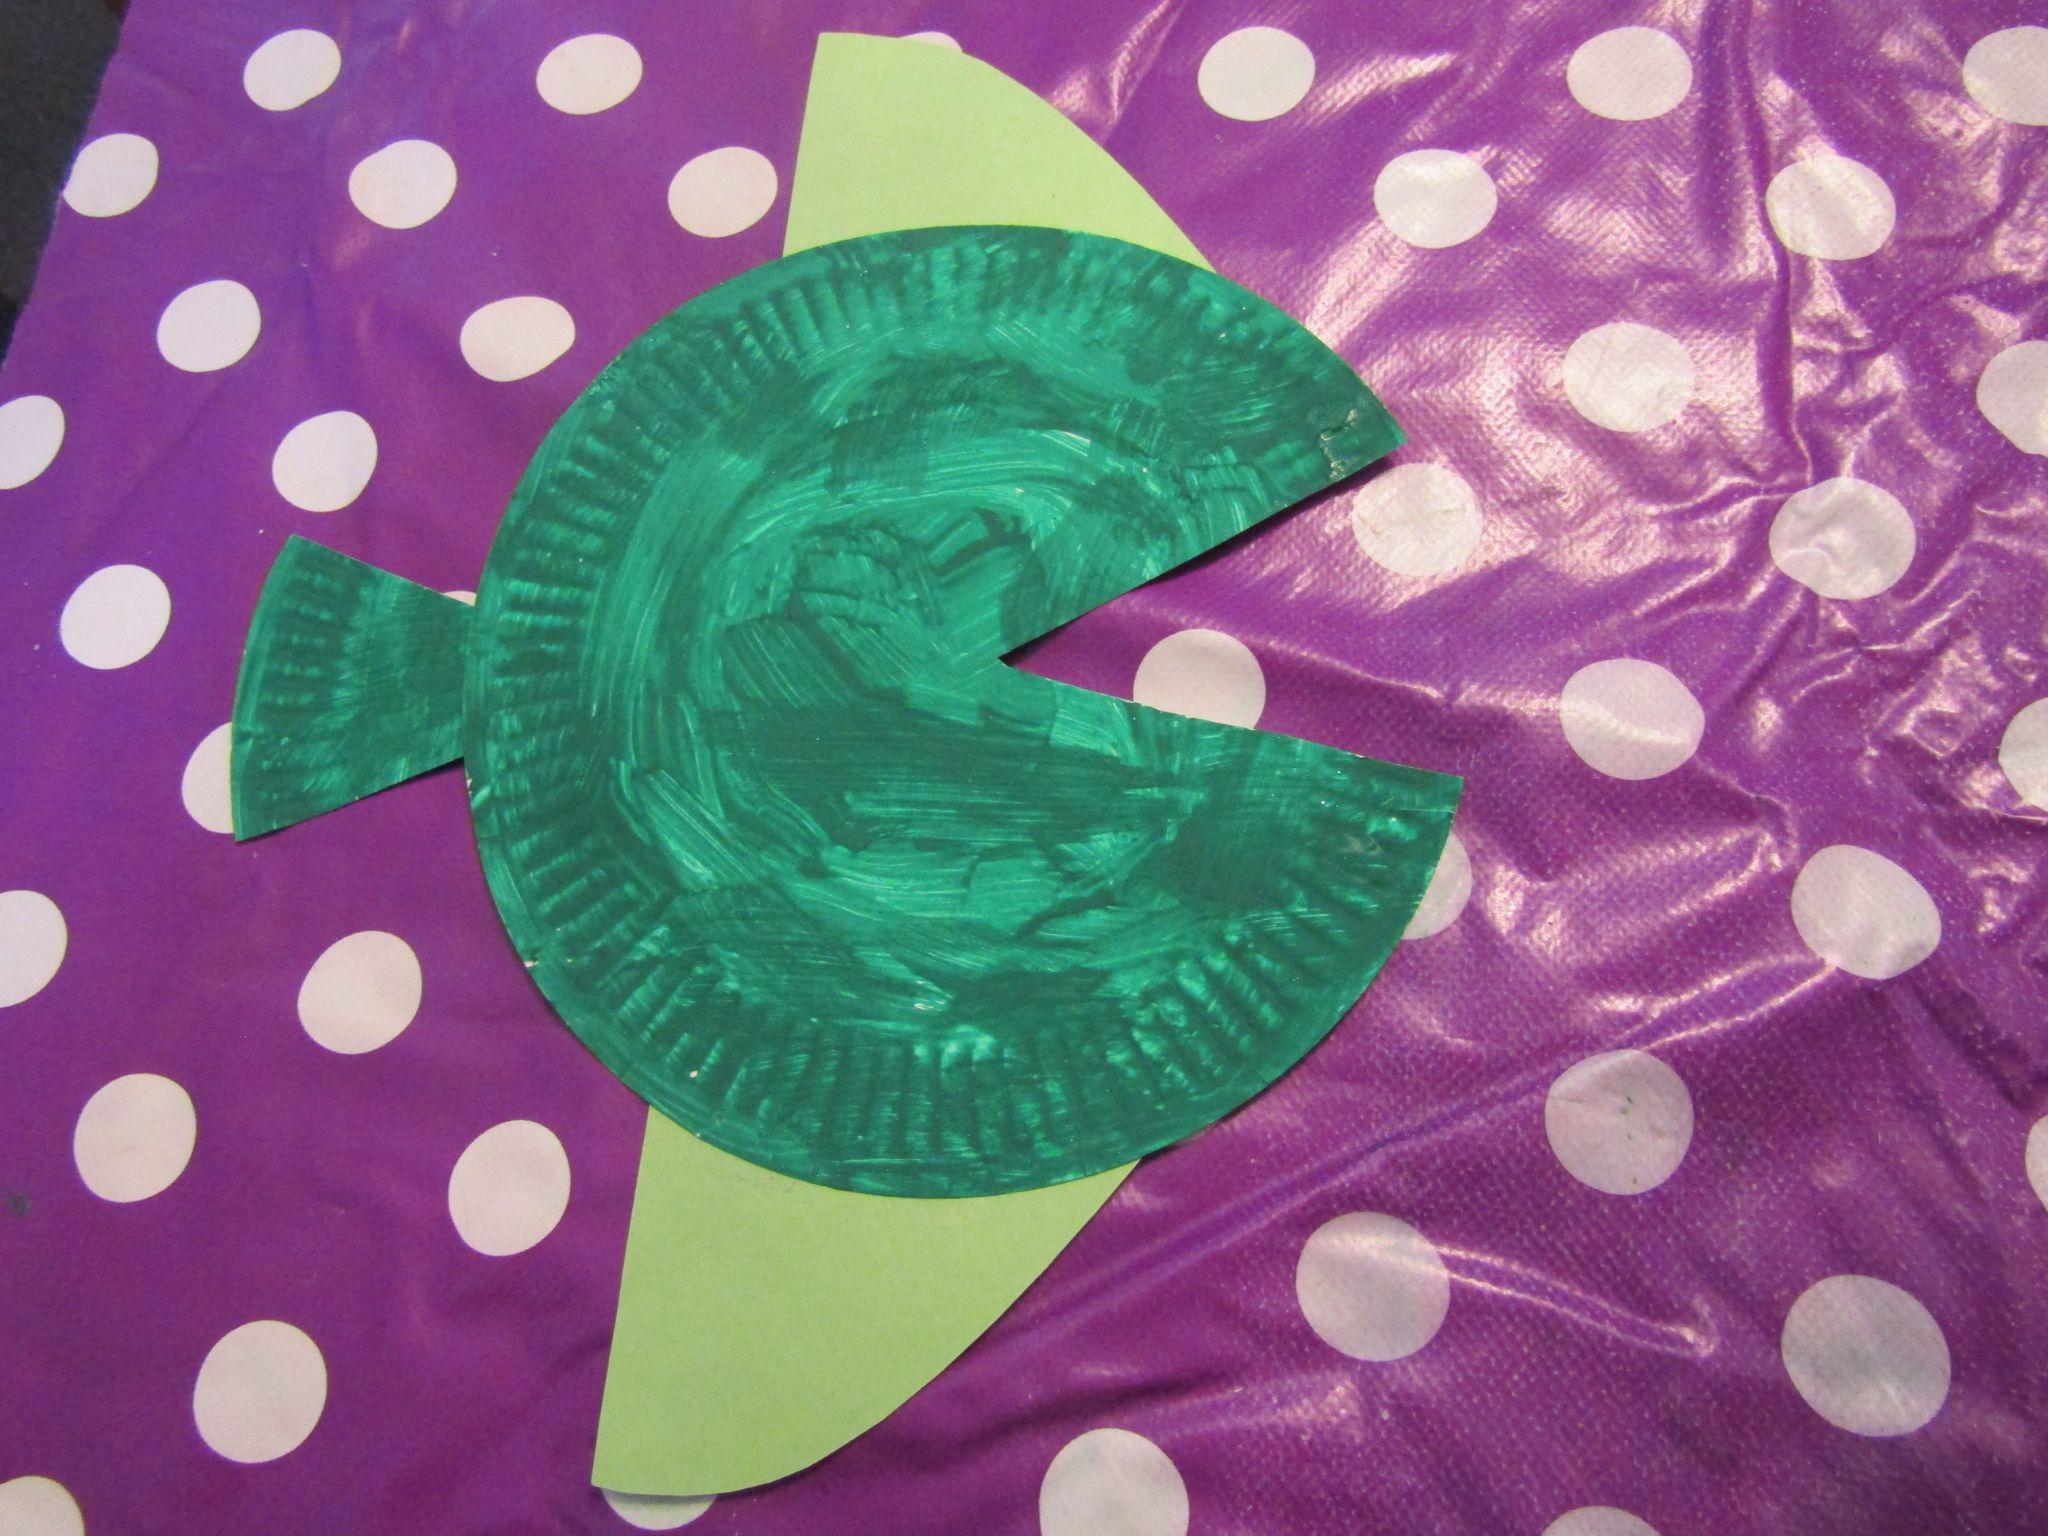
- Turn the plate back to its painted side, and glue the point of the triangle you cut out to the opposite side of your fish.
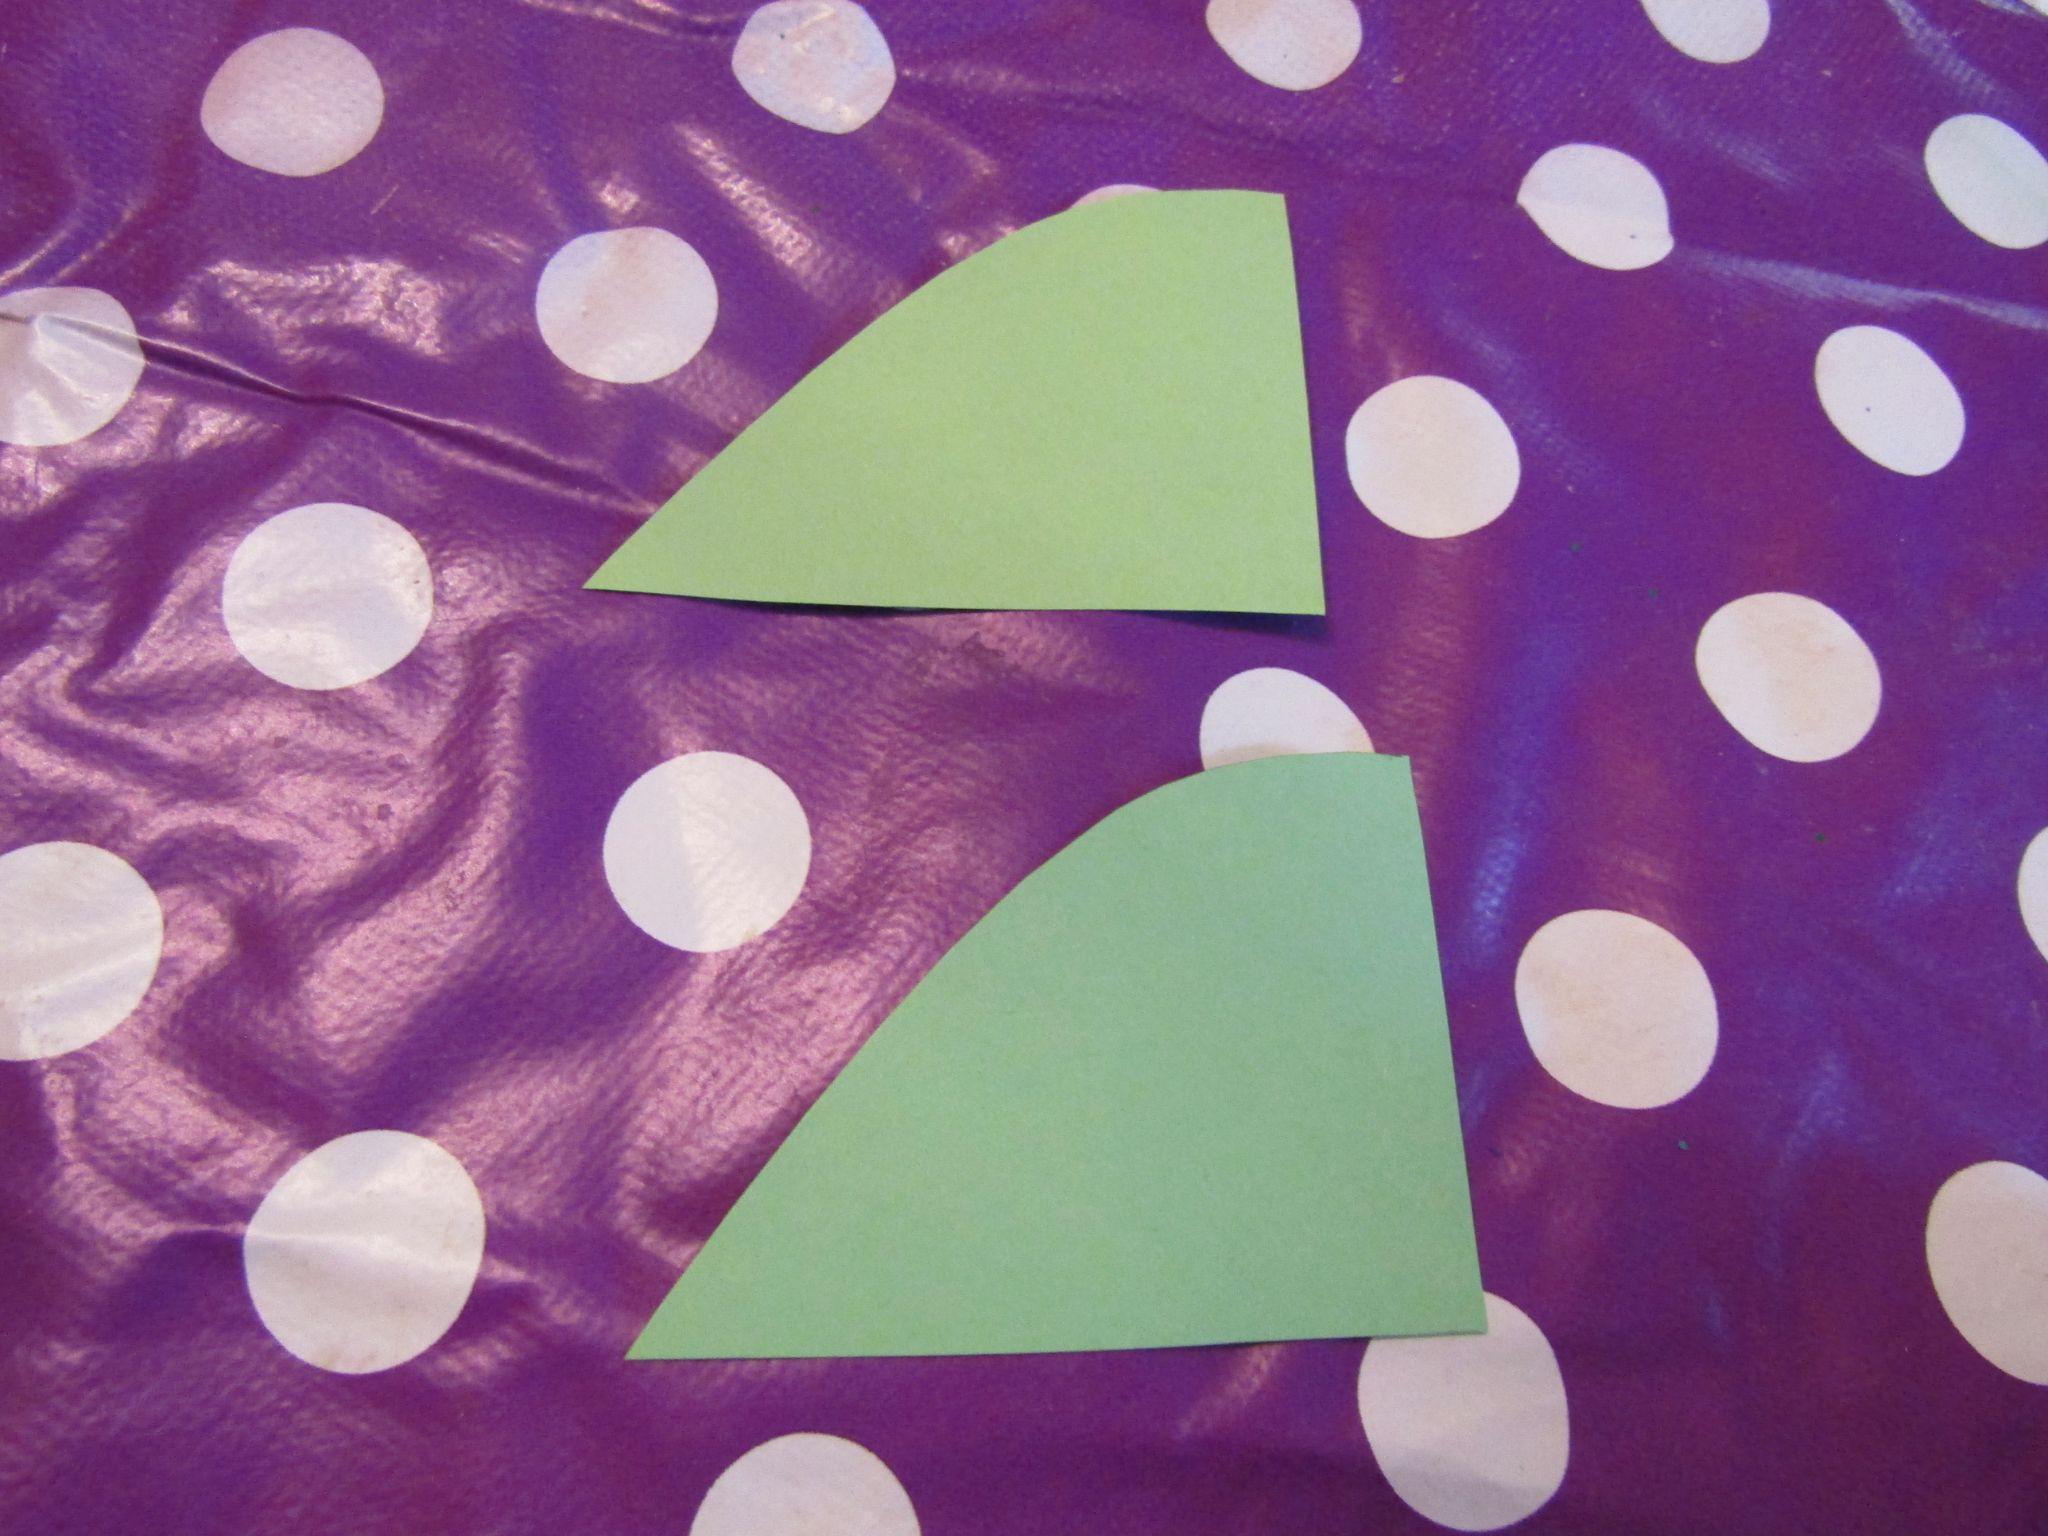
- Choose a piece of coloured card, draw two fins (you can see their shape below) and cut them out. Then glue them to the top and bottom of your fish.
- Add glue to one of the outer sides of your folded circles and stick them on to your fish, in straight lines, and in any colour pattern you choose.
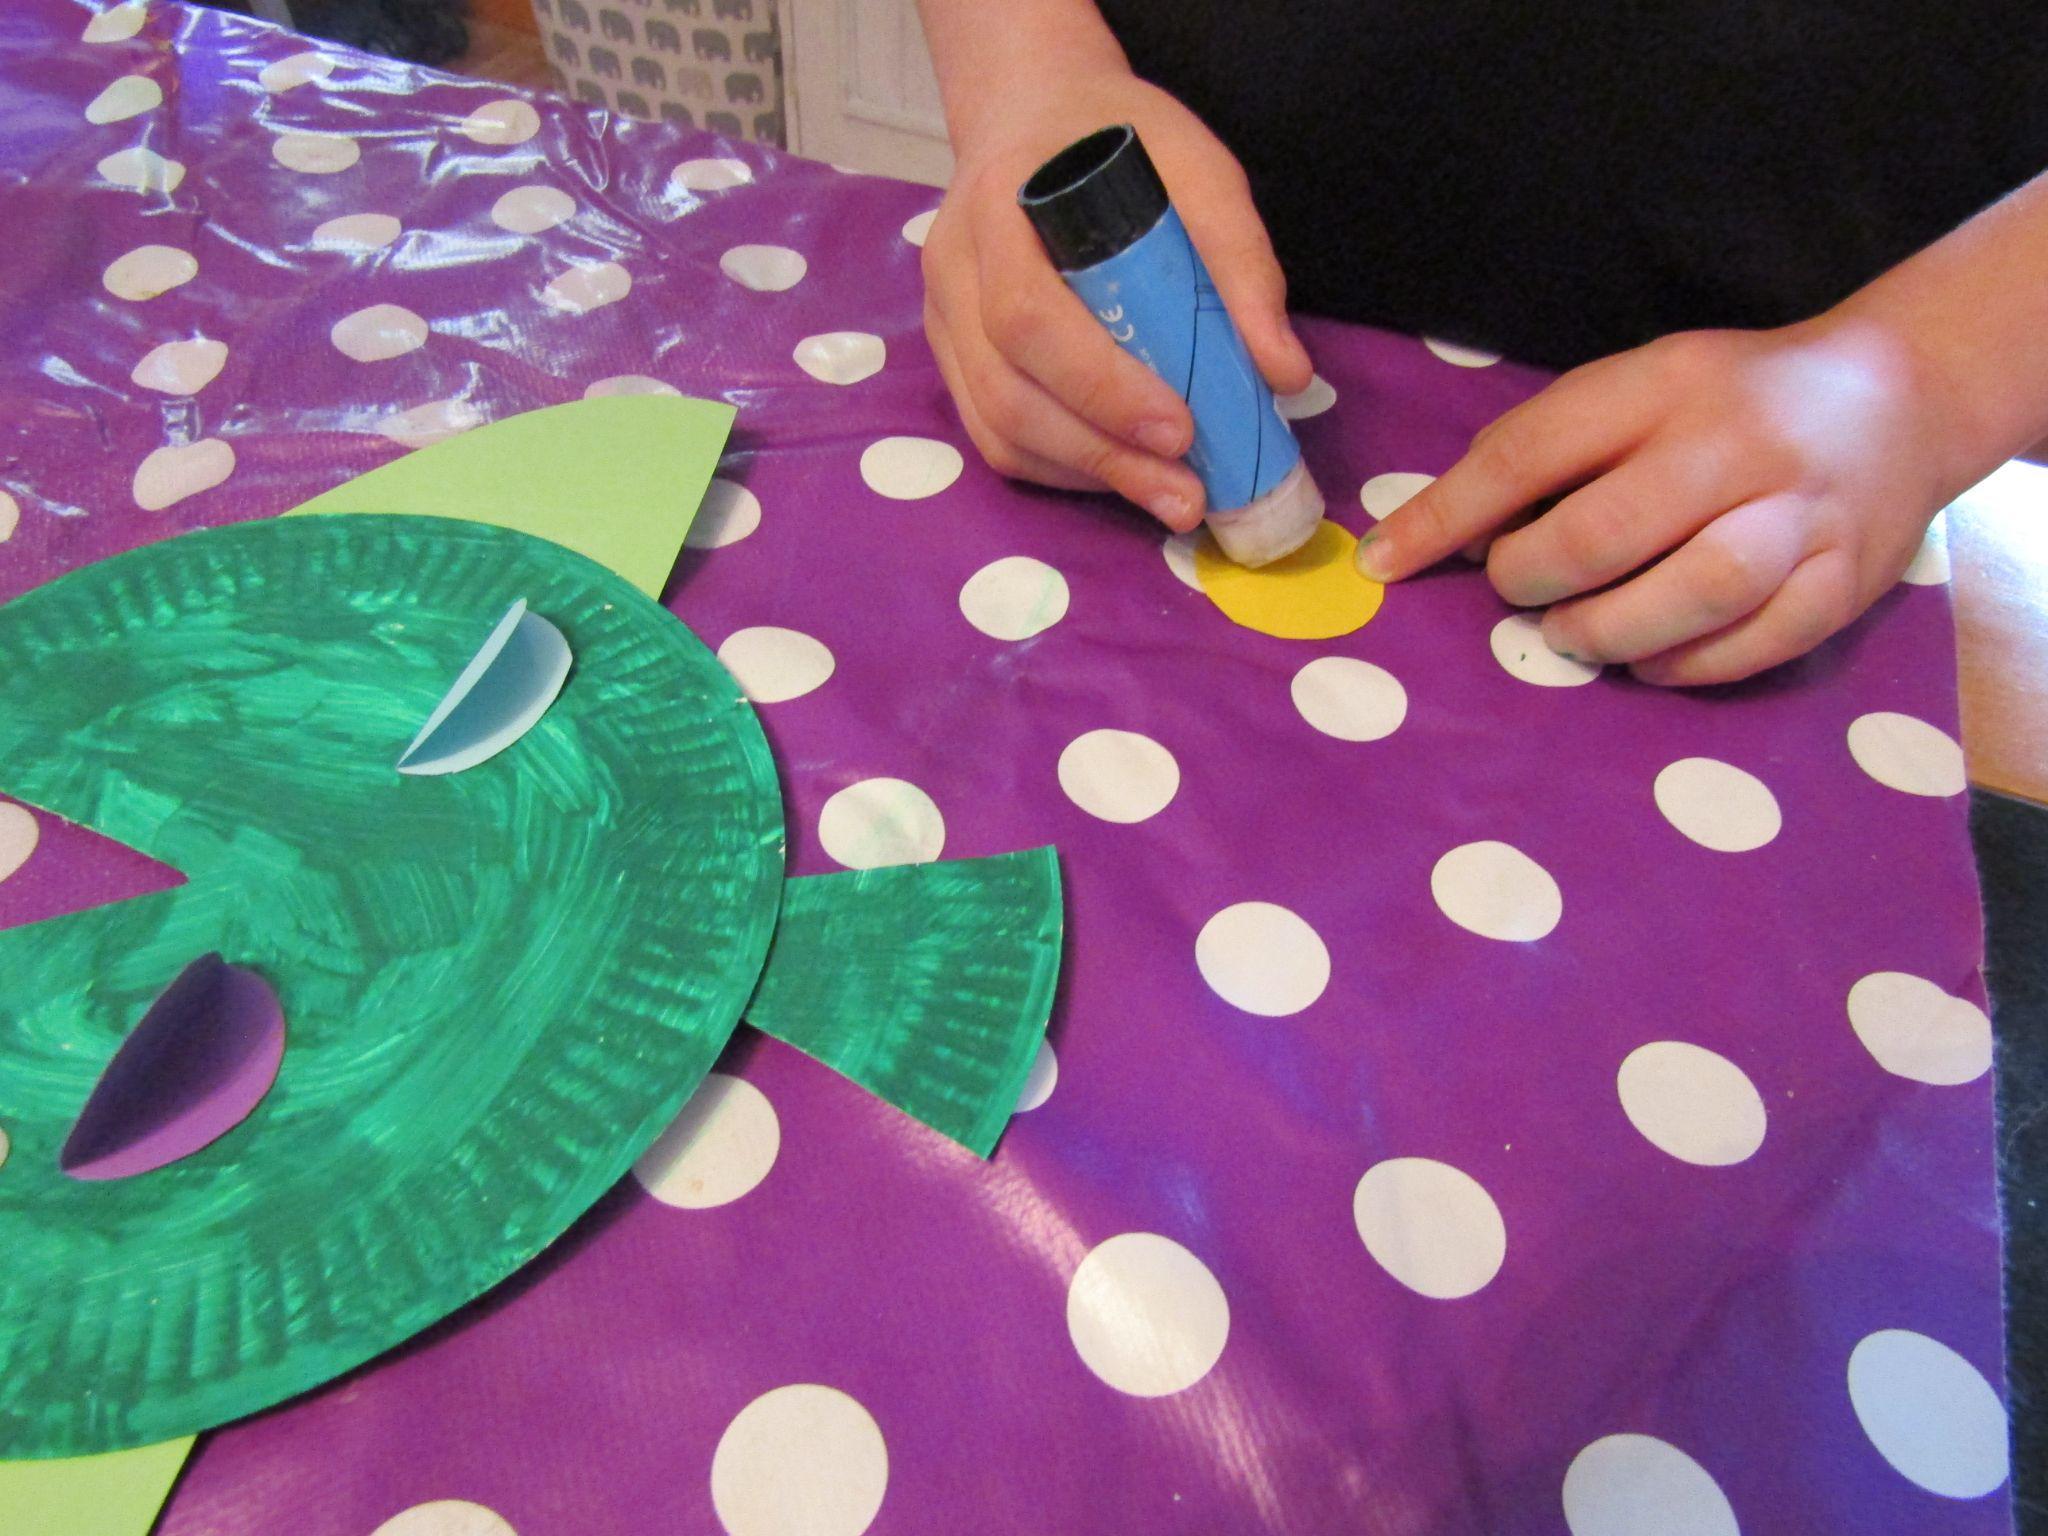
- Finally, stick on the googly eye, to complete your fish!

Theo says: “The fish were fun to make, and they didn’t take long at all. Next time I think I would use even more colours!”
Why don’t you have a go at designing a paper plate fish? If you do, please remember to post a picture on Facebook or Instagram and tag us so we can see them too!
Make sure you check back here next month for another craft project. And if you haven’t already, try making our simple felt bookmark or felt flower posy!